Import
The Import module provides a unified, visual interface for data integration. It lets you seamlessly ingest data from external sources into your VeloDB Cloud warehouse, with support for both batch loading and continuous ingestion with automatic table creation.
Open Import from the Work with data group in the left navigation, then click + Add Import Job in the top-right corner to start a new task.
Supported data sources
Import currently supports three categories of sources:
| Category | Sources |
|---|---|
| Databases | MySQL, PostgreSQL |
| Object Storage | Amazon S3 (and S3-compatible storage) |
| Event Streams | Confluent Cloud, Apache Kafka, Amazon MSK |
Creating an import job
Configuration details vary by source type, but all sources use the same 4-step wizard plus an ongoing management view. The walkthrough below uses a database source (PostgreSQL) as an example.
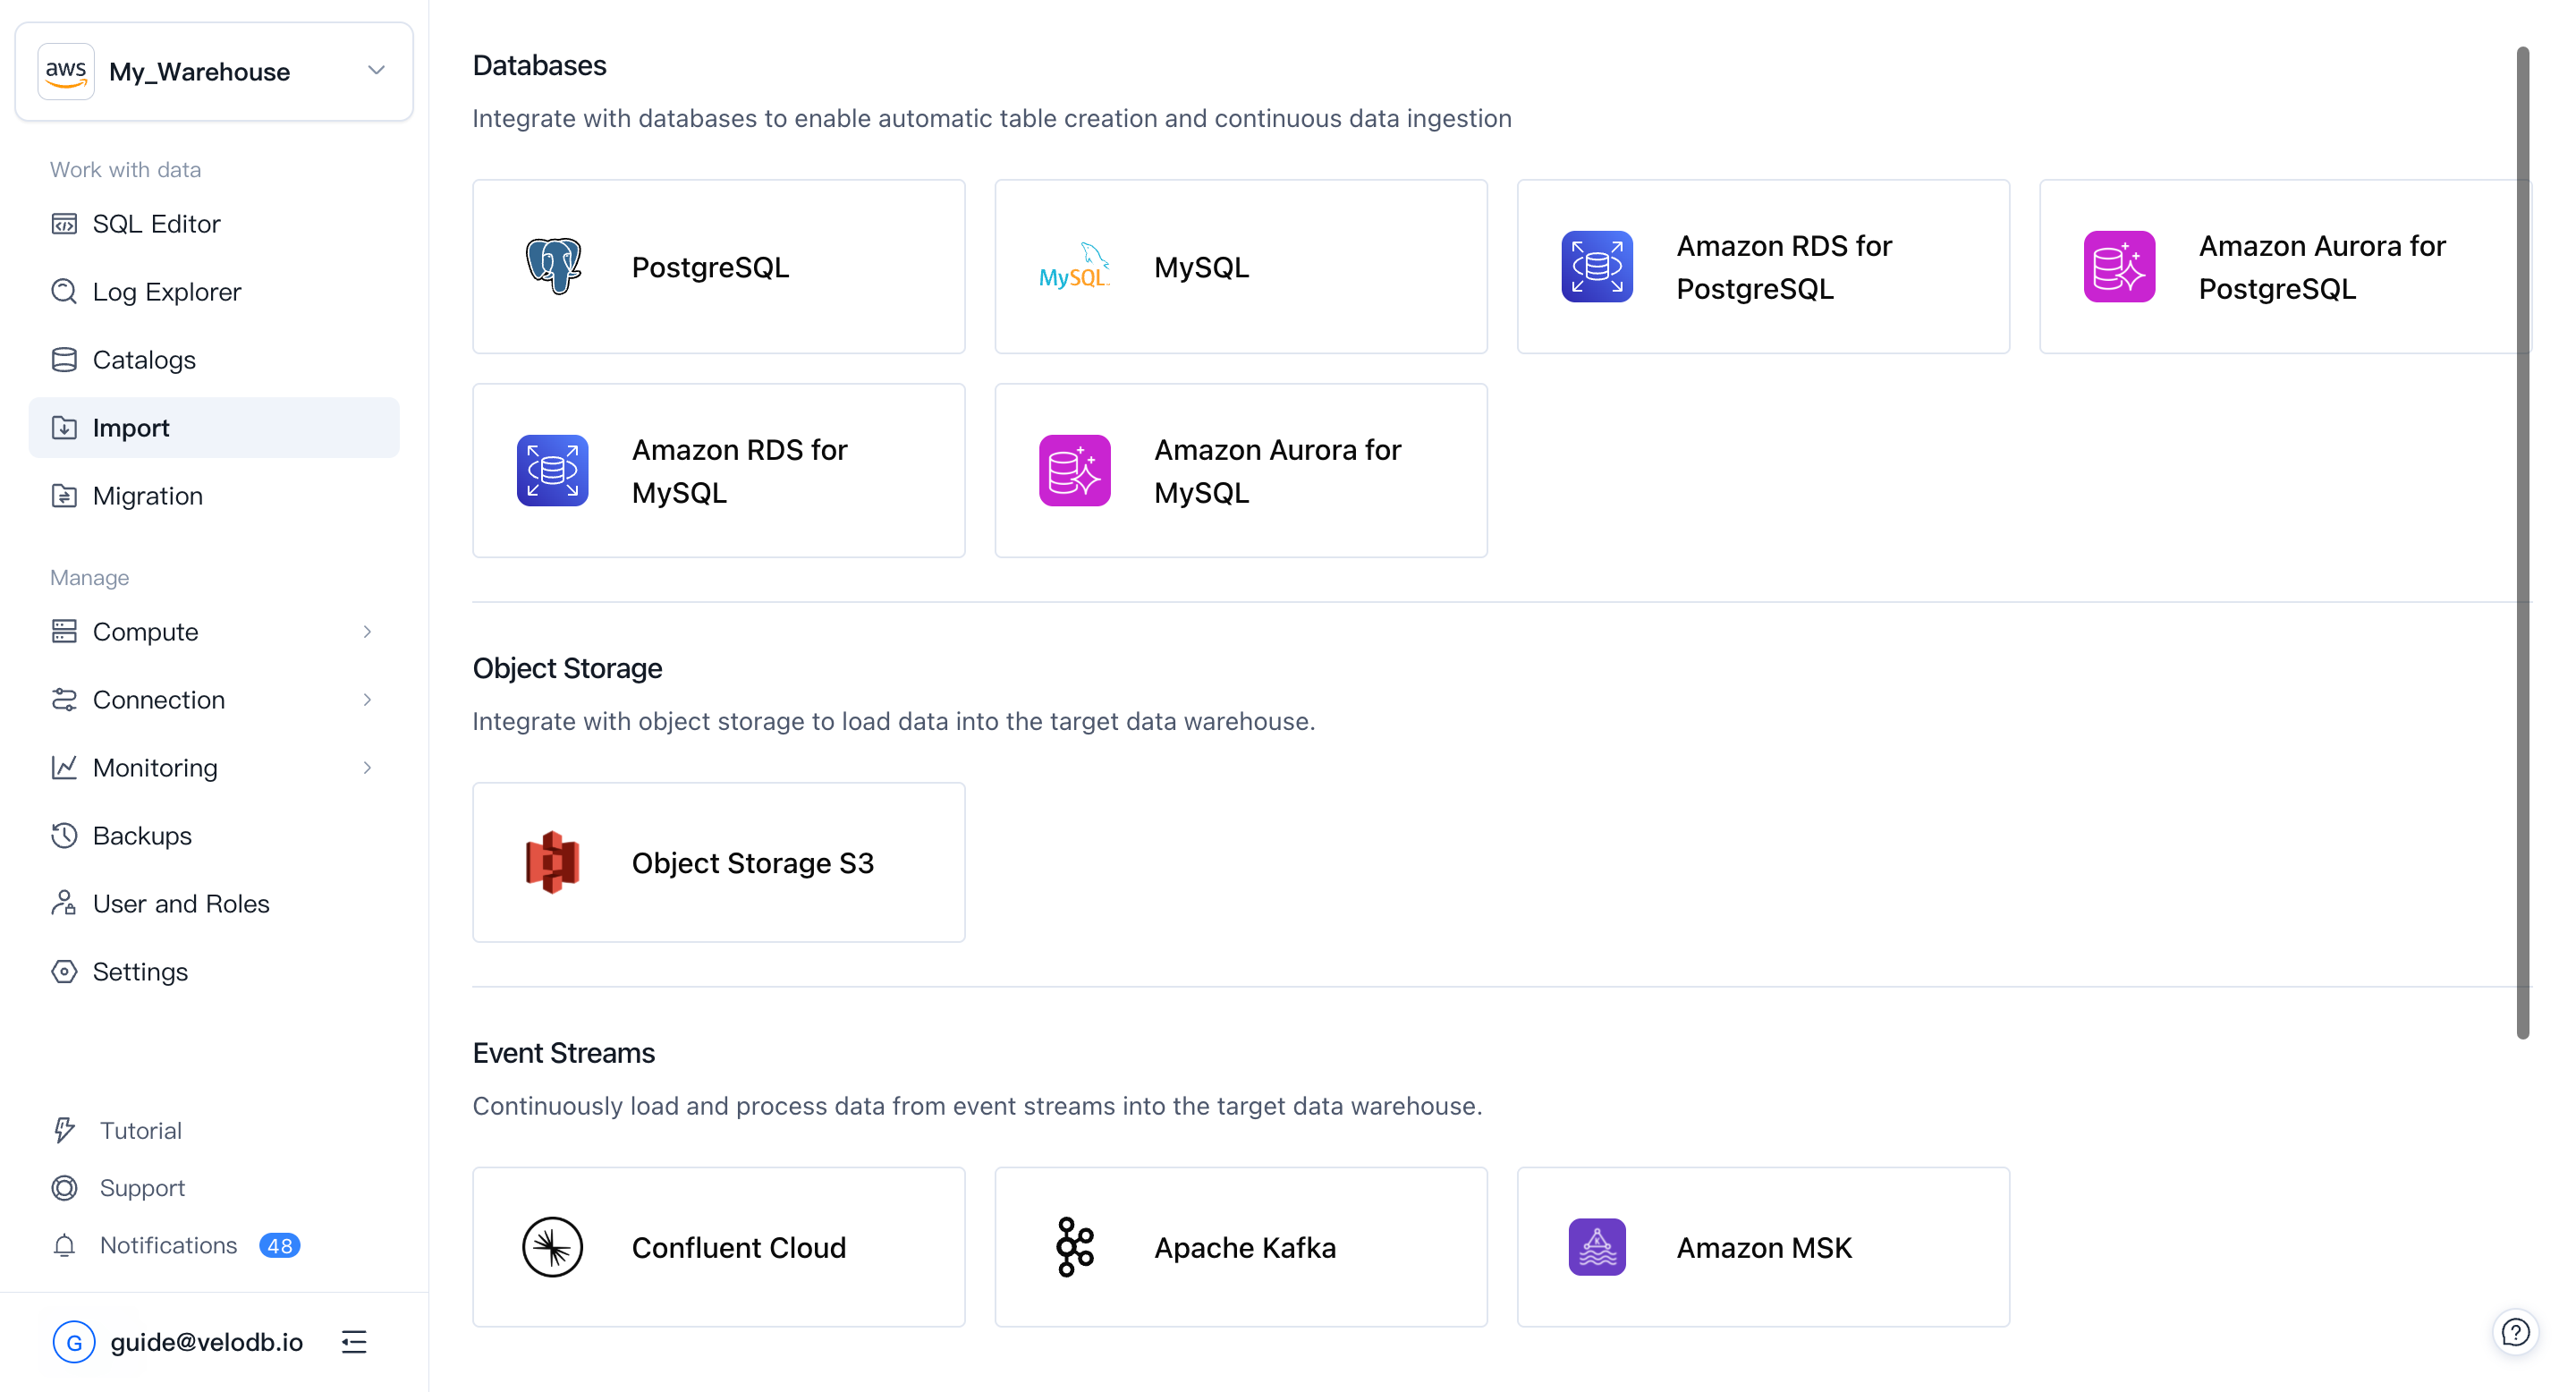
1. Select a data source
Click + Add Import Job on the Import page, then pick the source card — for example, PostgreSQL — from the category you need.
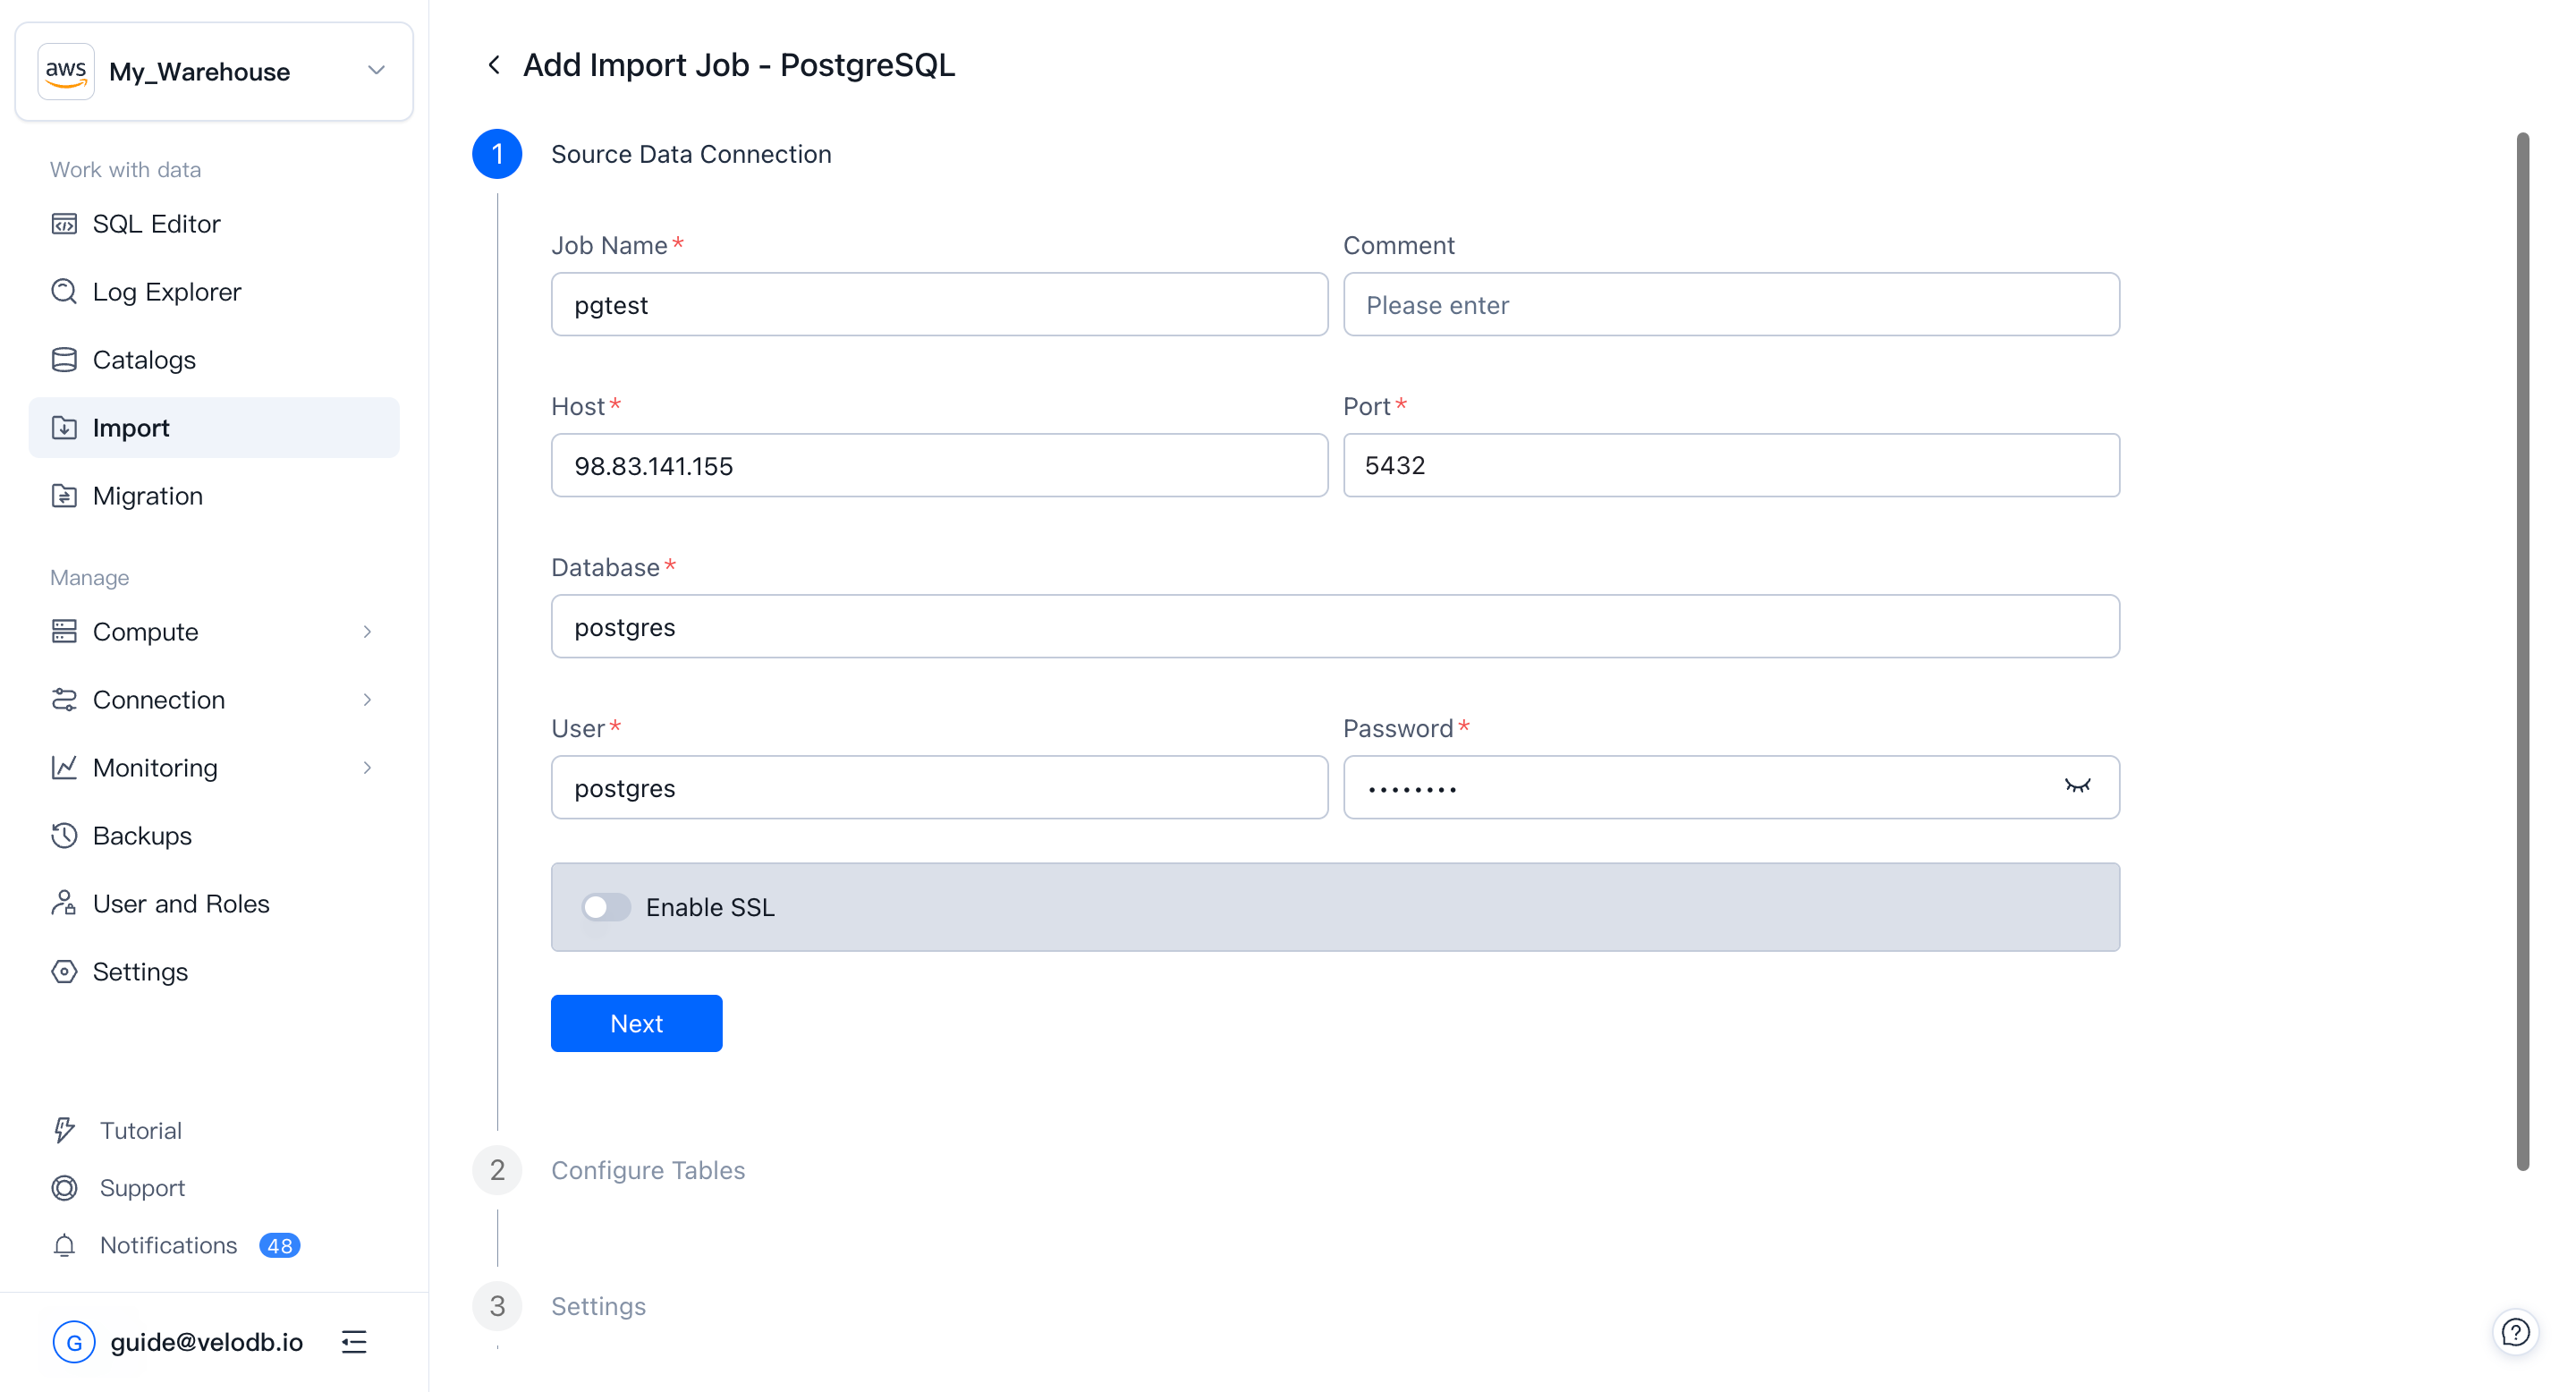
2. Configure the source connection
Fill in the fields the wizard requires so VeloDB Cloud can reach your source:
- Job Name — a unique, descriptive name for the job.
- Connection credentials — host, port, database, username, password, or AK/SK, depending on the source. Optionally enable SSL.
Click Next. The wizard verifies network connectivity and the credentials in the background.
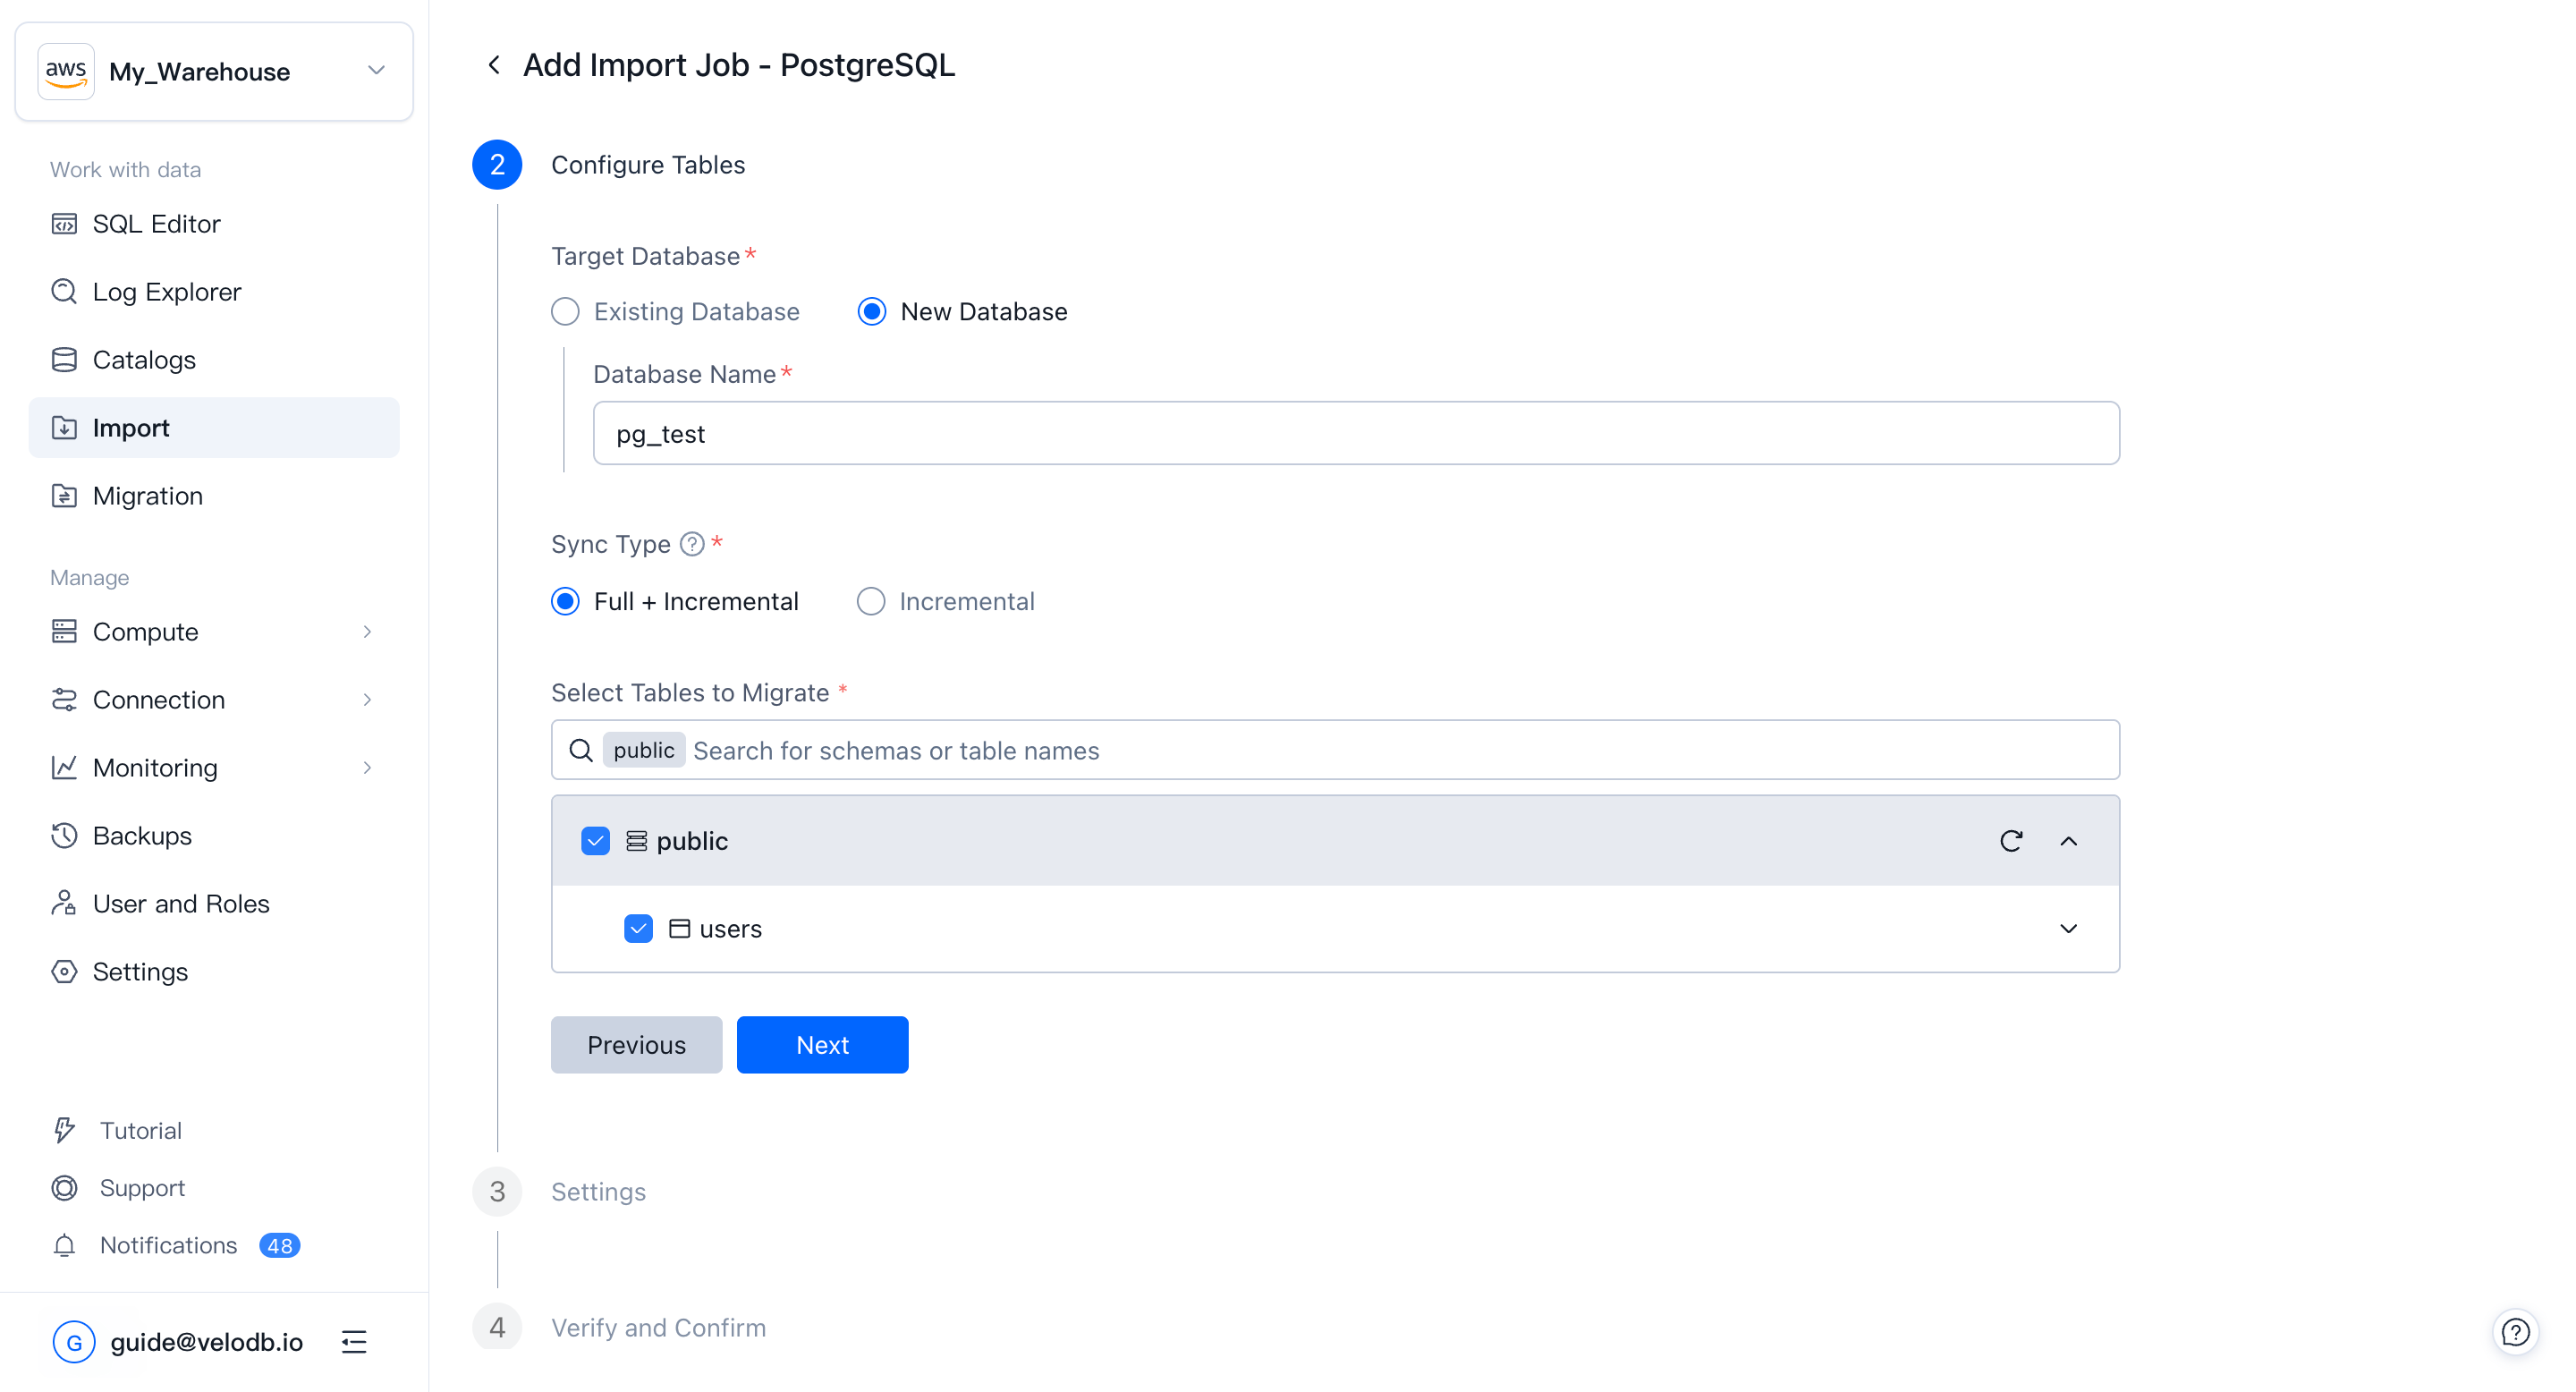
3. Configure tables
Define the target database and which data to read:
- Target Database — write into an existing database or create a new one.
- Sync Type — Full + Incremental or Incremental only.
- Tables to migrate
- Databases: select the schemas and tables to sync. Expand a table to apply column-level filtering under Column Settings.
- Event Streams: specify the topics to consume and the starting offset.
- Object Storage: specify the bucket path and file-matching pattern.
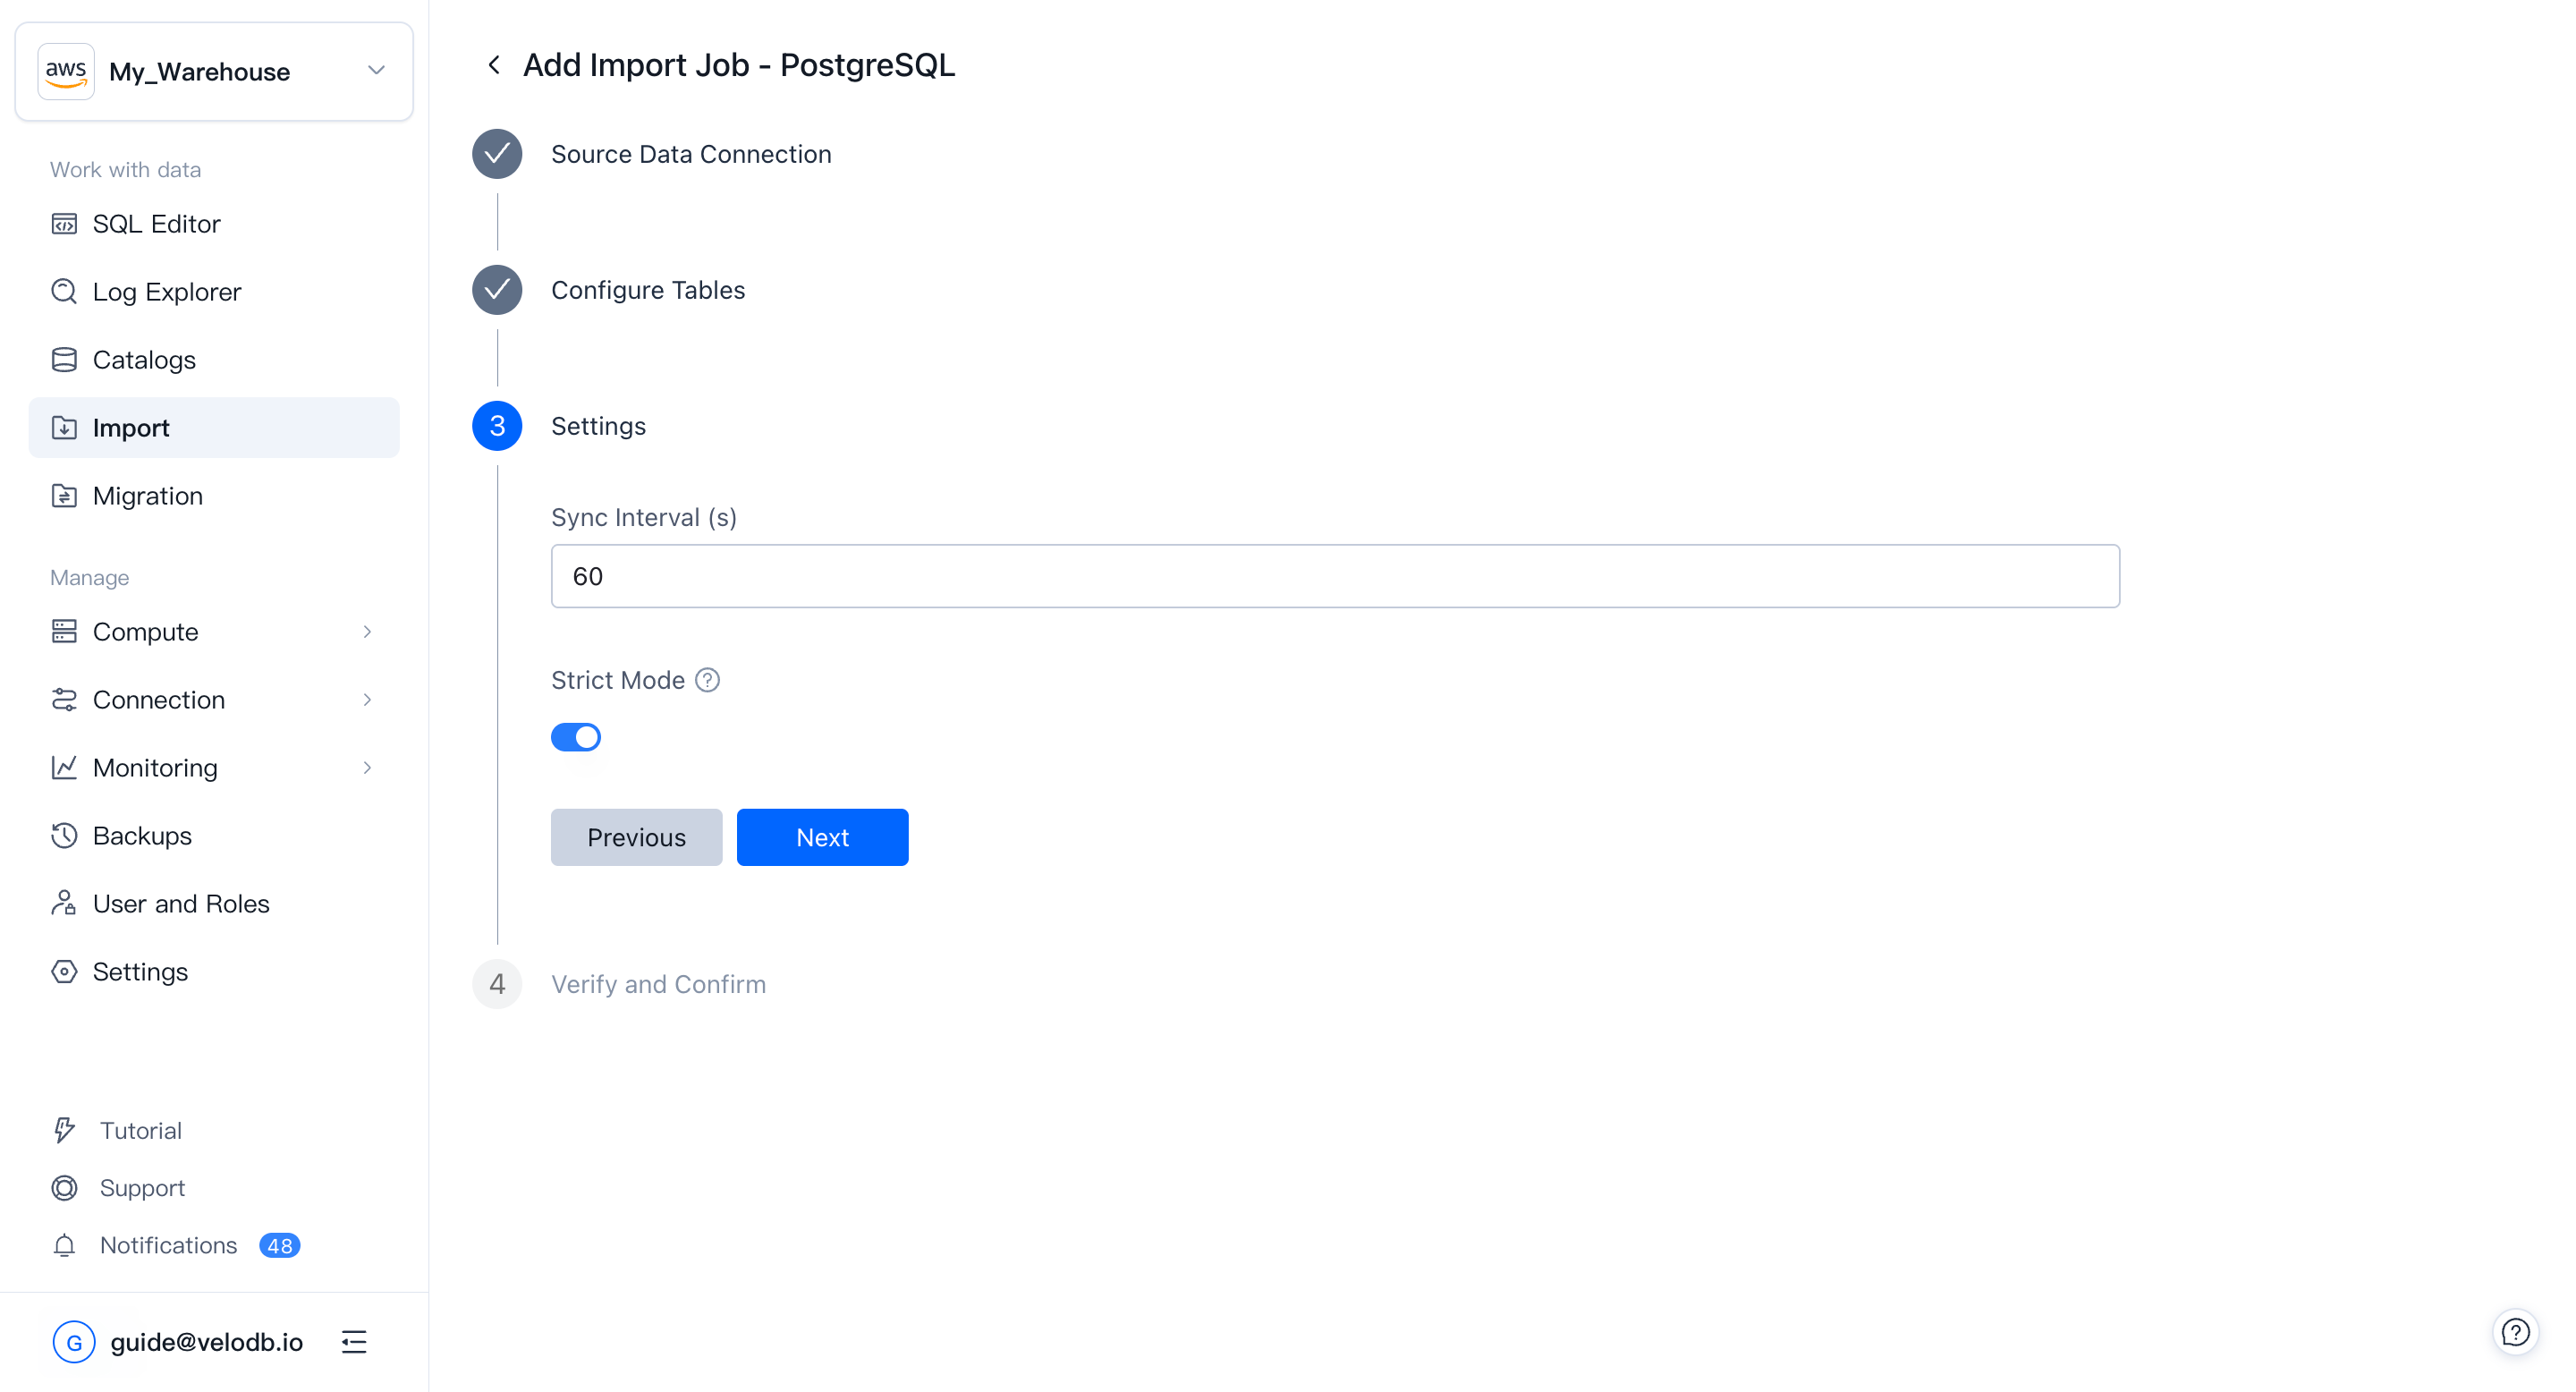
4. Settings
Tune how the job runs:
- Sync Interval — how often data is fetched (seconds; default is 60).
- Strict Mode — enforces strict column type conversion during import.
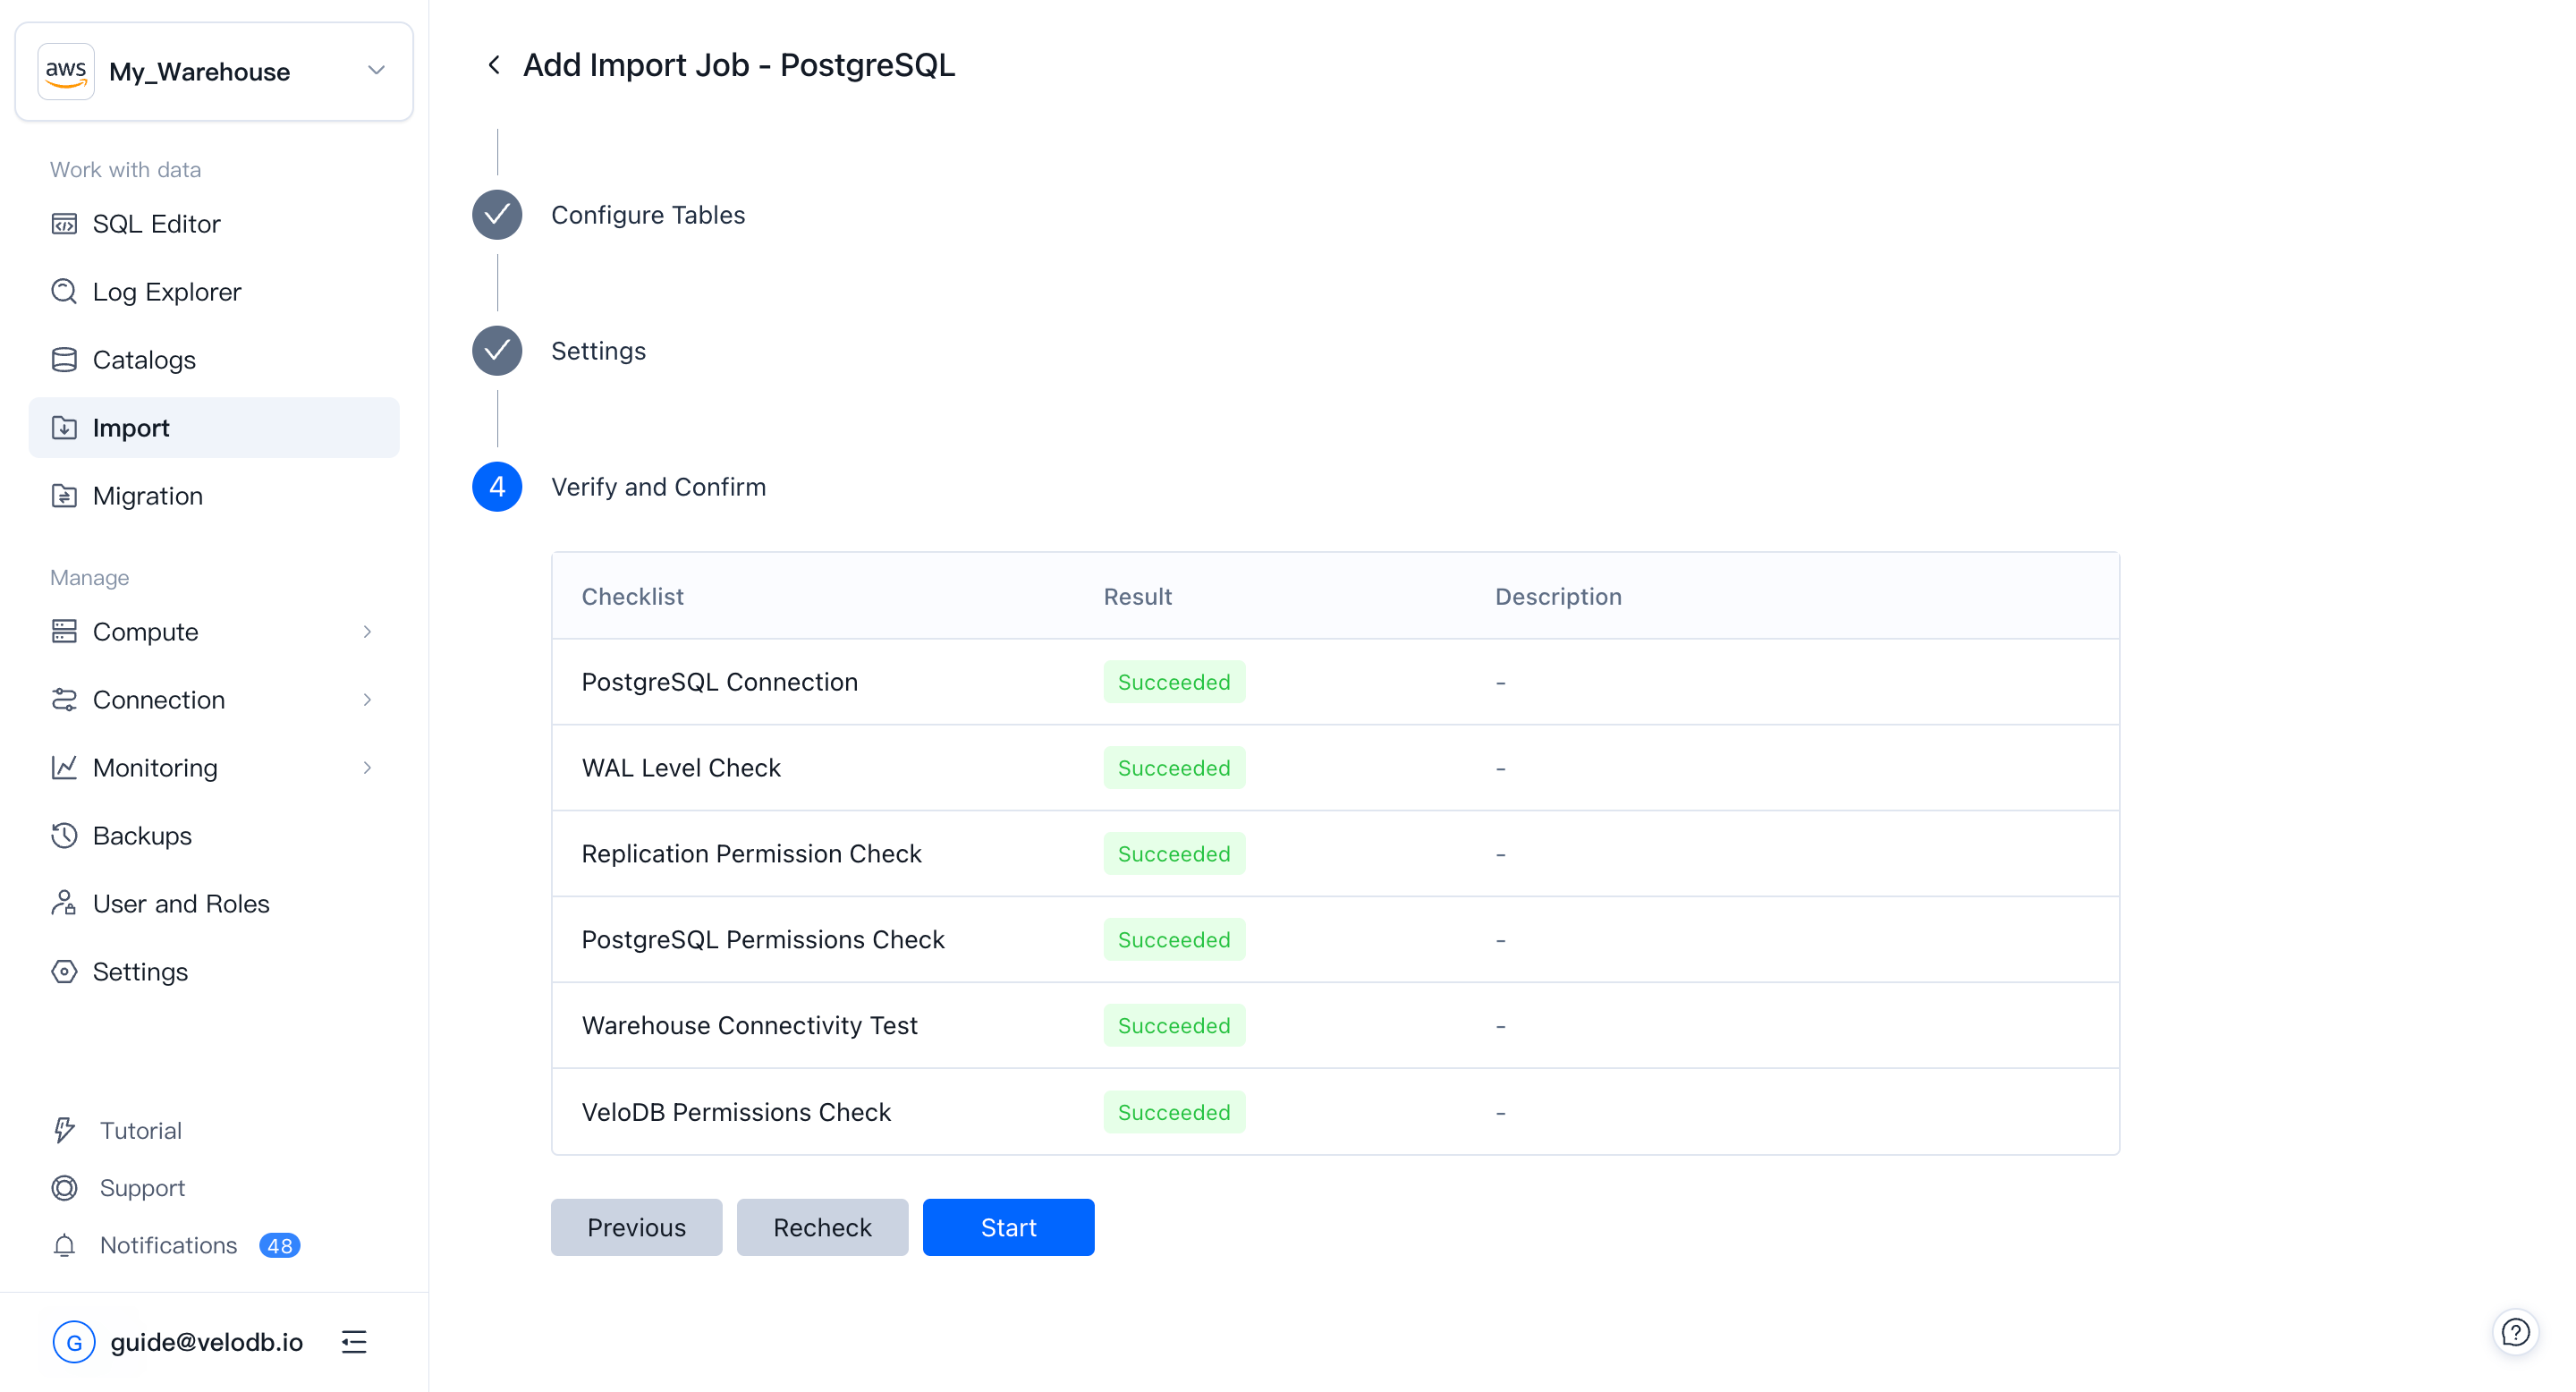
5. Verify and confirm
A pre-check runs automatically: network reachability, source-side permissions (for example, WAL / binlog access required for CDC), and target-side table-creation and write permissions.
When all items show Succeeded, click Start to launch the job.
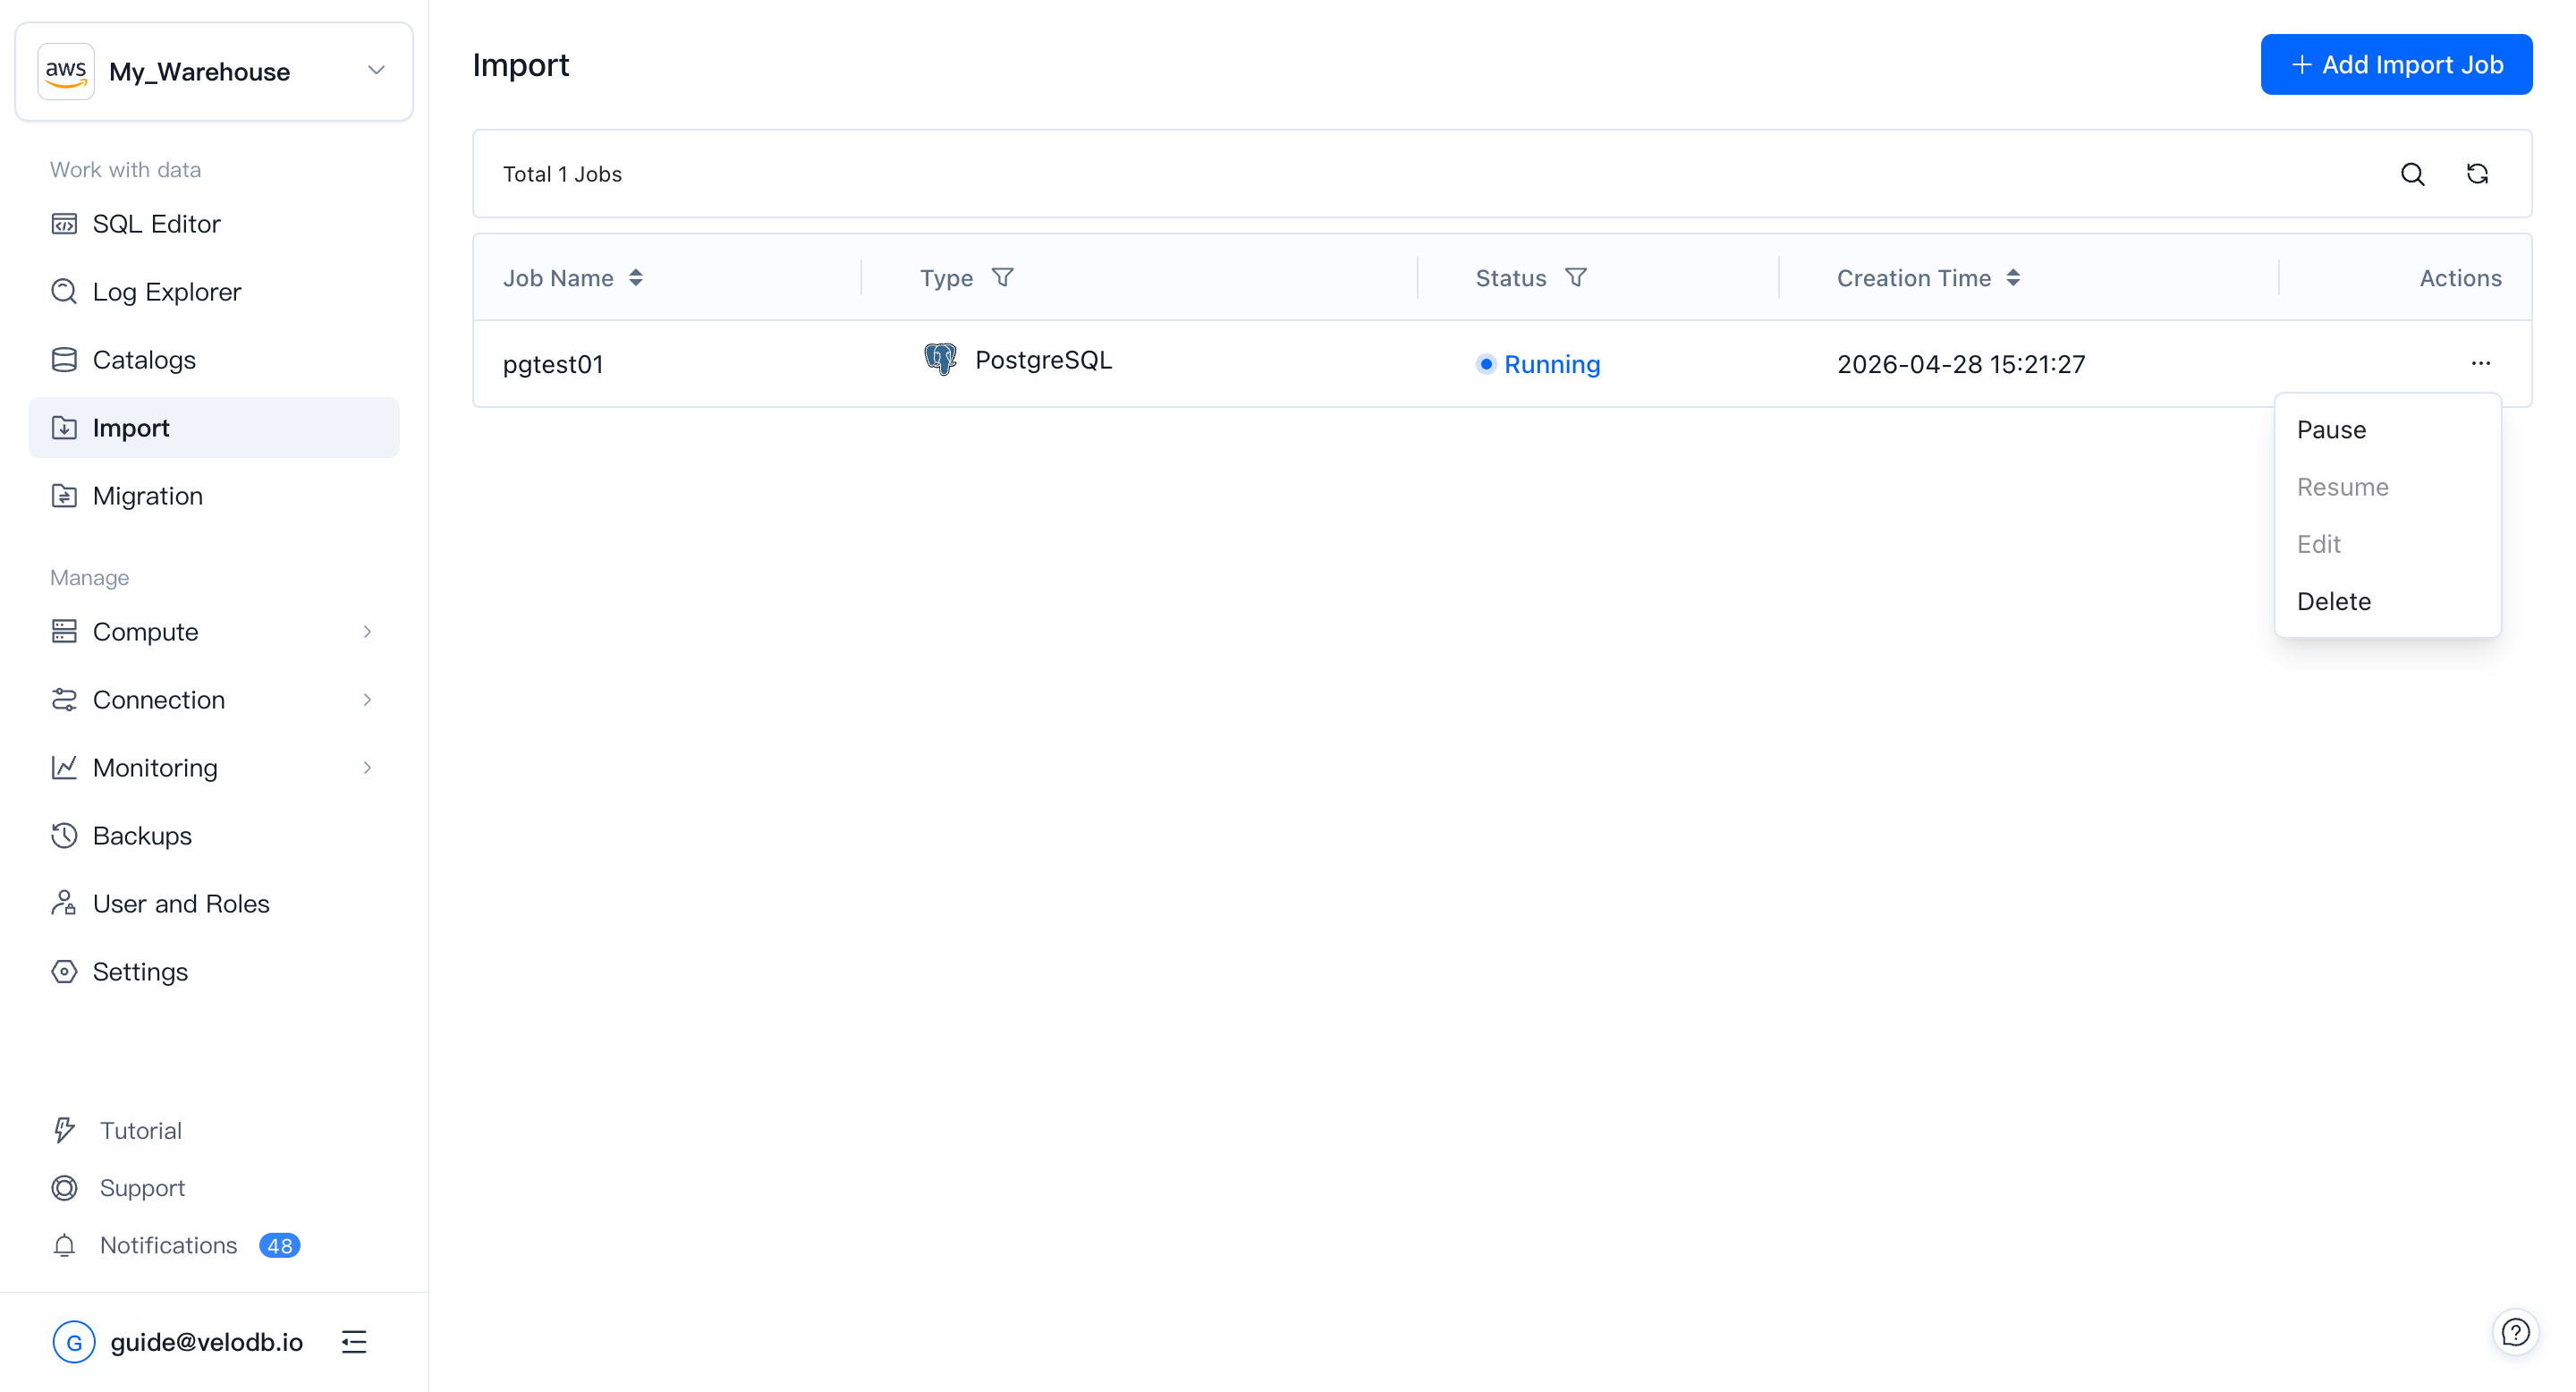
6. Manage and monitor
After starting, you return to the Import jobs list, where you can track each job's status (Running, Paused, Failed, etc.) and creation time. Use the ... menu next to a job to Pause, Resume, Edit, or Delete it.