AWS Glue Setup
This guide covers setting up the required AWS resources for connecting VeloDB to an AWS Glue Iceberg catalog.
Prerequisites
- AWS Account with permissions to create S3 buckets, Glue databases, and IAM users
- AWS CLI configured (optional, for Lake Formation permissions)
Step 1: Create S3 Bucket
- Go to AWS S3 Console > Create bucket
- Enter a bucket name (e.g.,
my-lakehouse-bucket) - Select the same region as your VeloDB warehouse
- Enable versioning (recommended)
- Click Create bucket
The bucket region must match your VeloDB warehouse region for optimal performance.
Step 2: Create Glue Database
-
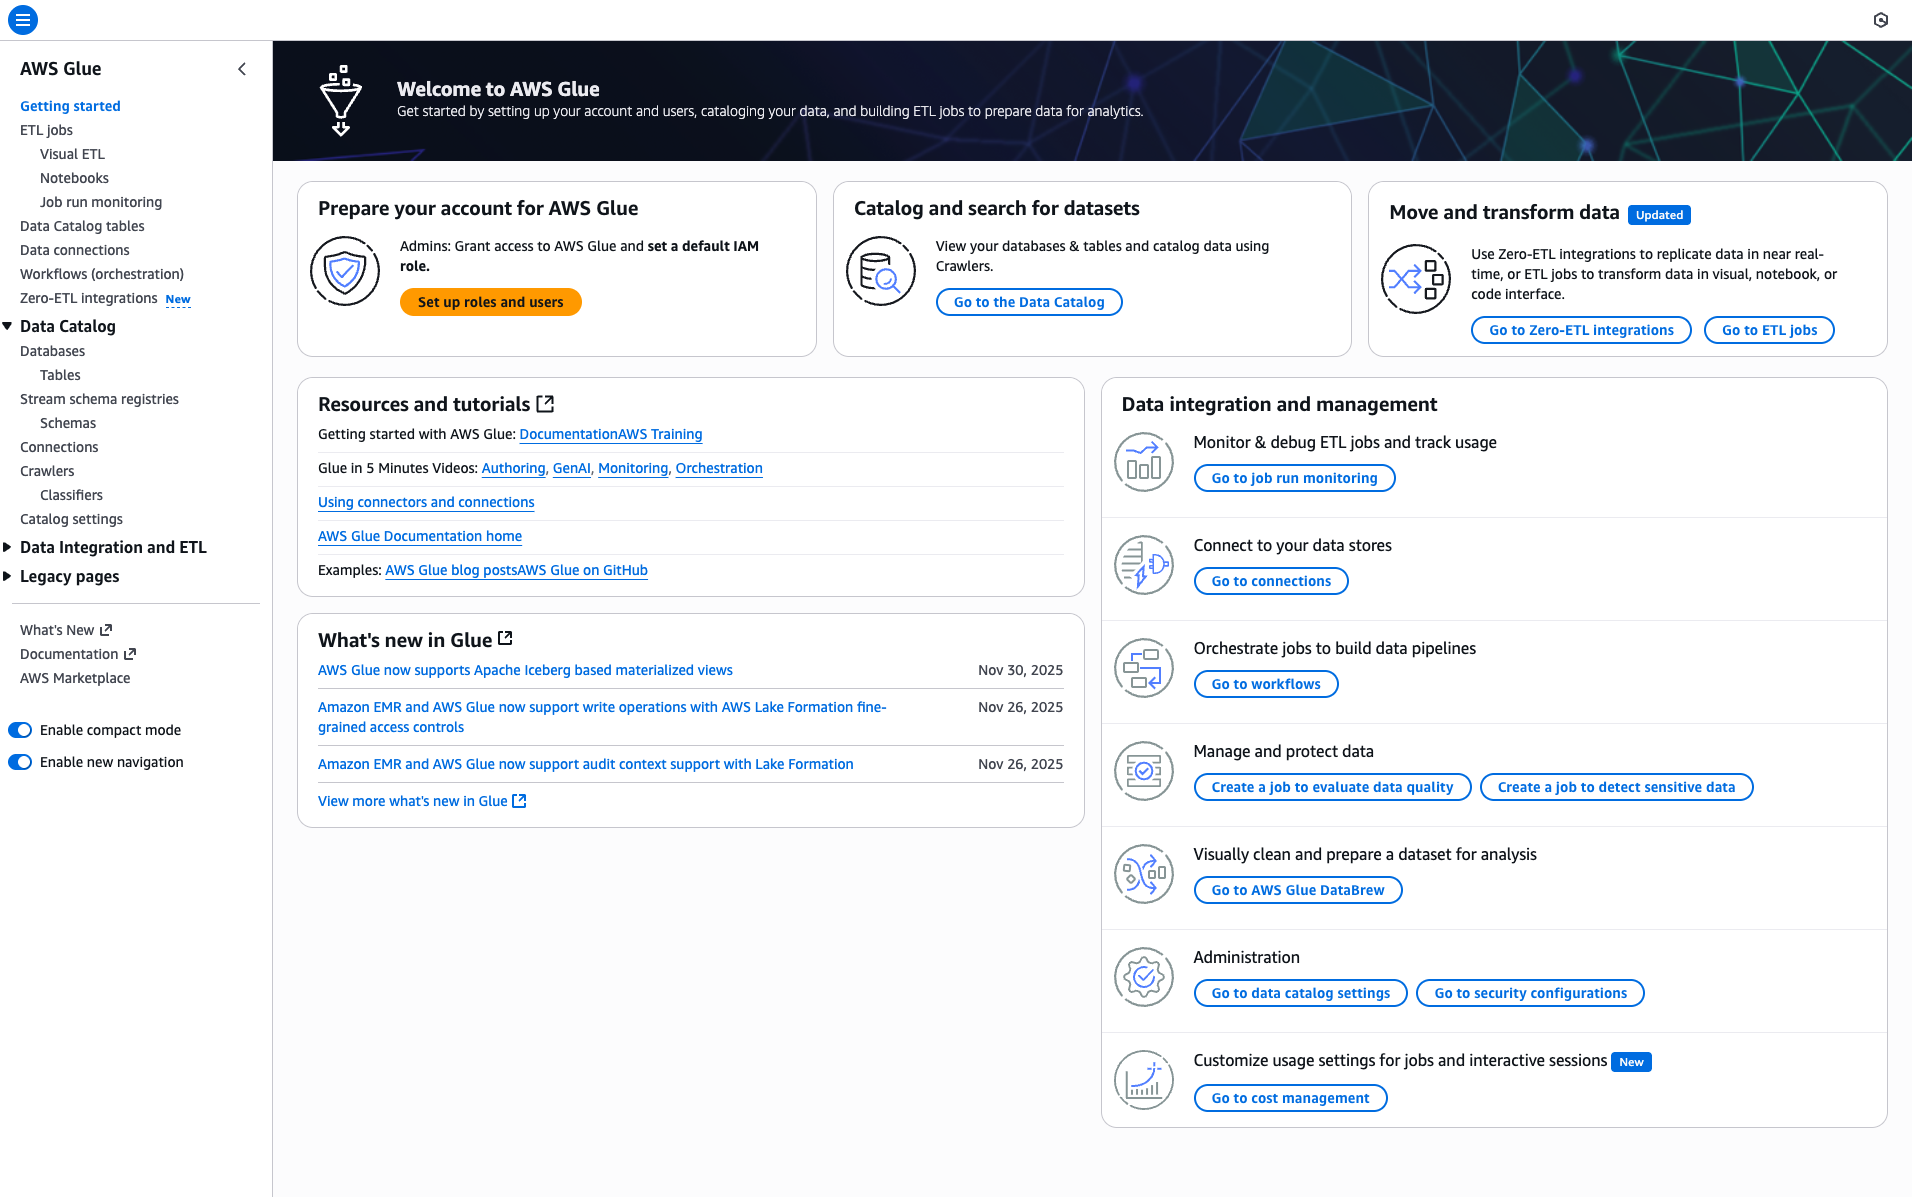
Open the AWS Console and search for "Glue"
-
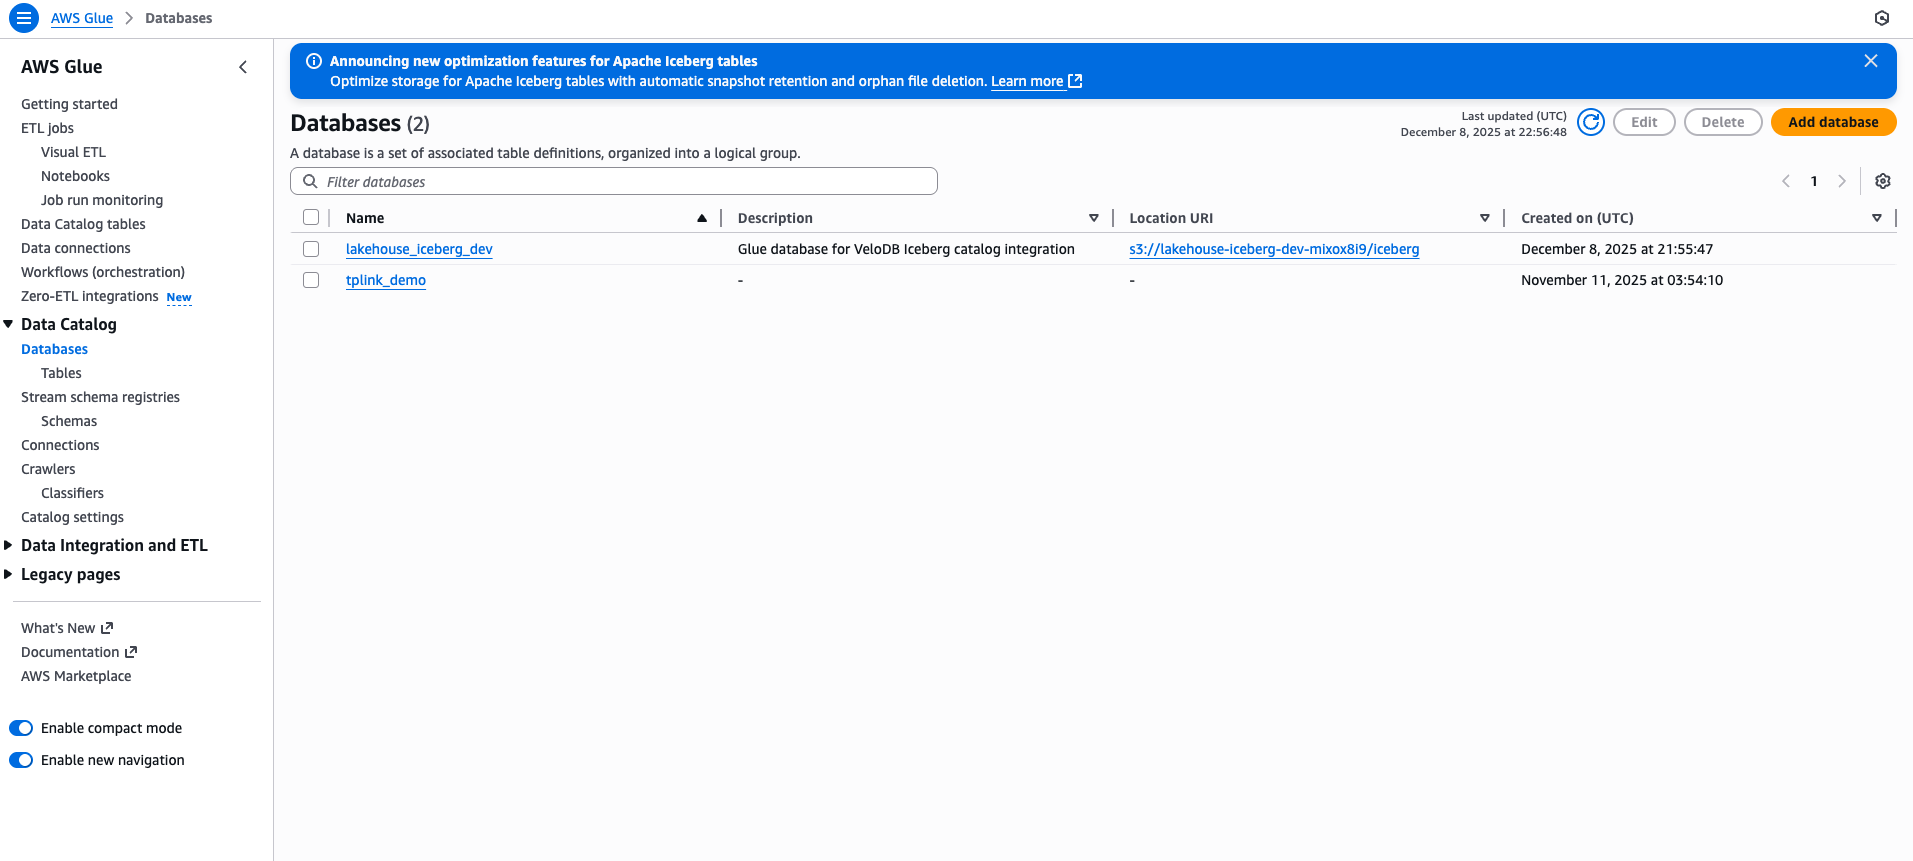
Navigate to AWS Glue Console > Data Catalog > Databases
-
Click Add database
-
Fill in:
- Name: Use only lowercase letters, numbers, and underscores (e.g.,
lakehouse_iceberg_db) - Location:
s3://my-lakehouse-bucket/iceberg/
- Name: Use only lowercase letters, numbers, and underscores (e.g.,
-
Click Create database
Database names cannot contain hyphens (-). Use underscores (_) instead.
Step 3: Create IAM User
- Go to IAM Console > Users > Create user
- Enter a username (e.g.,
velodb-glue-user) and click Next - Select Attach policies directly, then click Create policy
- Choose JSON tab and paste the following policy:
{
    "Version": "2012-10-17",
    "Statement": [
        {
            "Effect": "Allow",
            "Action": [
                "glue:GetDatabase", "glue:GetDatabases",
                "glue:CreateDatabase", "glue:UpdateDatabase", "glue:DeleteDatabase",
                "glue:GetTable", "glue:GetTables",
                "glue:CreateTable", "glue:UpdateTable", "glue:DeleteTable",
                "glue:GetPartition", "glue:GetPartitions",
                "glue:CreatePartition", "glue:BatchCreatePartition",
                "glue:UpdatePartition", "glue:DeletePartition", "glue:BatchDeletePartition"
            ],
            "Resource": [
                "arn:aws:glue:REGION:*:catalog",
                "arn:aws:glue:REGION:*:database/lakehouse_*",
                "arn:aws:glue:REGION:*:table/lakehouse_*/*"
            ]
        },
        {
            "Effect": "Allow",
            "Action": [
                "s3:GetObject", "s3:PutObject", "s3:DeleteObject",
                "s3:ListBucket", "s3:GetBucketLocation"
            ],
            "Resource": [
                "arn:aws:s3:::my-lakehouse-bucket",
                "arn:aws:s3:::my-lakehouse-bucket/*"
            ]
        },
        {
            "Effect": "Allow",
            "Action": ["lakeformation:GetDataAccess"],
            "Resource": "*"
        }
    ]
}
Replace REGION with your AWS region (e.g., us-east-1) and my-lakehouse-bucket with your actual bucket name.
- Click Next, name your policy (e.g.,
VeloDBGlueAccess), and click Create policy - Return to the user creation, refresh the policy list, select your new policy, and click Next
- Click Create user
- Select the new user, go to Security credentials tab
- Click Create access key > Third-party service > Next > Create access key
- Save the Access Key ID and Secret Access Key - you'll need these for VeloDB
Step 4: Grant Lake Formation Permissions (if needed)
In some regions (e.g., us-east-1), Lake Formation is enabled by default and controls Glue access.
Find your AWS Account ID: Click your username in the top-right corner of AWS Console to see your Account ID (12-digit number).
Grant permissions via AWS CLI:
# Replace ACCOUNT_ID (12 digits), YOUR_USER, and YOUR_DATABASE with your values
aws lakeformation grant-permissions \
  --principal DataLakePrincipalIdentifier=arn:aws:iam::123456789012:user/velodb-glue-user \
  --resource '{"Database":{"Name":"lakehouse_iceberg_db"}}' \
  --permissions CREATE_TABLE DESCRIBE ALTER DROP
If you see "Lake Formation permission denied" errors in VeloDB, this step is required.
Step 5: Write Sample Data (Optional)
Use PyIceberg to create tables and write sample data for testing:
pip install "pyiceberg[glue,s3]" pyarrow pandas
from pyiceberg.catalog import load_catalog
import pyarrow as pa
import pandas as pd

# Connect to Glue catalog (replace with your values)
catalog = load_catalog("glue", **{
    "type": "glue",
    "s3.access-key-id": "YOUR_ACCESS_KEY",
    "s3.secret-access-key": "YOUR_SECRET_KEY",
    "s3.region": "us-east-1",
    "glue.access-key-id": "YOUR_ACCESS_KEY",
    "glue.secret-access-key": "YOUR_SECRET_KEY",
    "glue.region": "us-east-1",
    "warehouse": "s3://my-lakehouse-bucket/iceberg",
})

# Create a sample table
schema = pa.schema([
    ("id", pa.int64()),
    ("name", pa.string()),
    ("value", pa.float64()),
])

table = catalog.create_table(
    "lakehouse_iceberg_db.sample_table",
    schema=schema
)

# Write sample data
df = pd.DataFrame({
    "id": [1, 2, 3],
    "name": ["Alice", "Bob", "Charlie"],
    "value": [100.5, 200.3, 150.8]
})
table.append(pa.Table.from_pandas(df))
print("Sample data written successfully!")
Regional Endpoints Reference
| Region | Glue Endpoint | S3 Endpoint |
|---|---|---|
| us-east-1 | https://glue.us-east-1.amazonaws.com | https://s3.us-east-1.amazonaws.com |
| us-west-2 | https://glue.us-west-2.amazonaws.com | https://s3.us-west-2.amazonaws.com |
| eu-west-1 | https://glue.eu-west-1.amazonaws.com | https://s3.eu-west-1.amazonaws.com |
| ap-southeast-1 | https://glue.ap-southeast-1.amazonaws.com | https://s3.ap-southeast-1.amazonaws.com |
| ap-northeast-1 | https://glue.ap-northeast-1.amazonaws.com | https://s3.ap-northeast-1.amazonaws.com |
Values Needed for VeloDB
After completing setup, you'll need these values to connect VeloDB:
| Value | Description |
|---|---|
| S3 Bucket Path | s3://my-lakehouse-bucket/iceberg |
| Glue Region | Your AWS region (e.g., us-east-1) |
| Glue Endpoint | https://glue.{region}.amazonaws.com |
| Access Key ID | From IAM user creation |
| Secret Access Key | From IAM user creation |
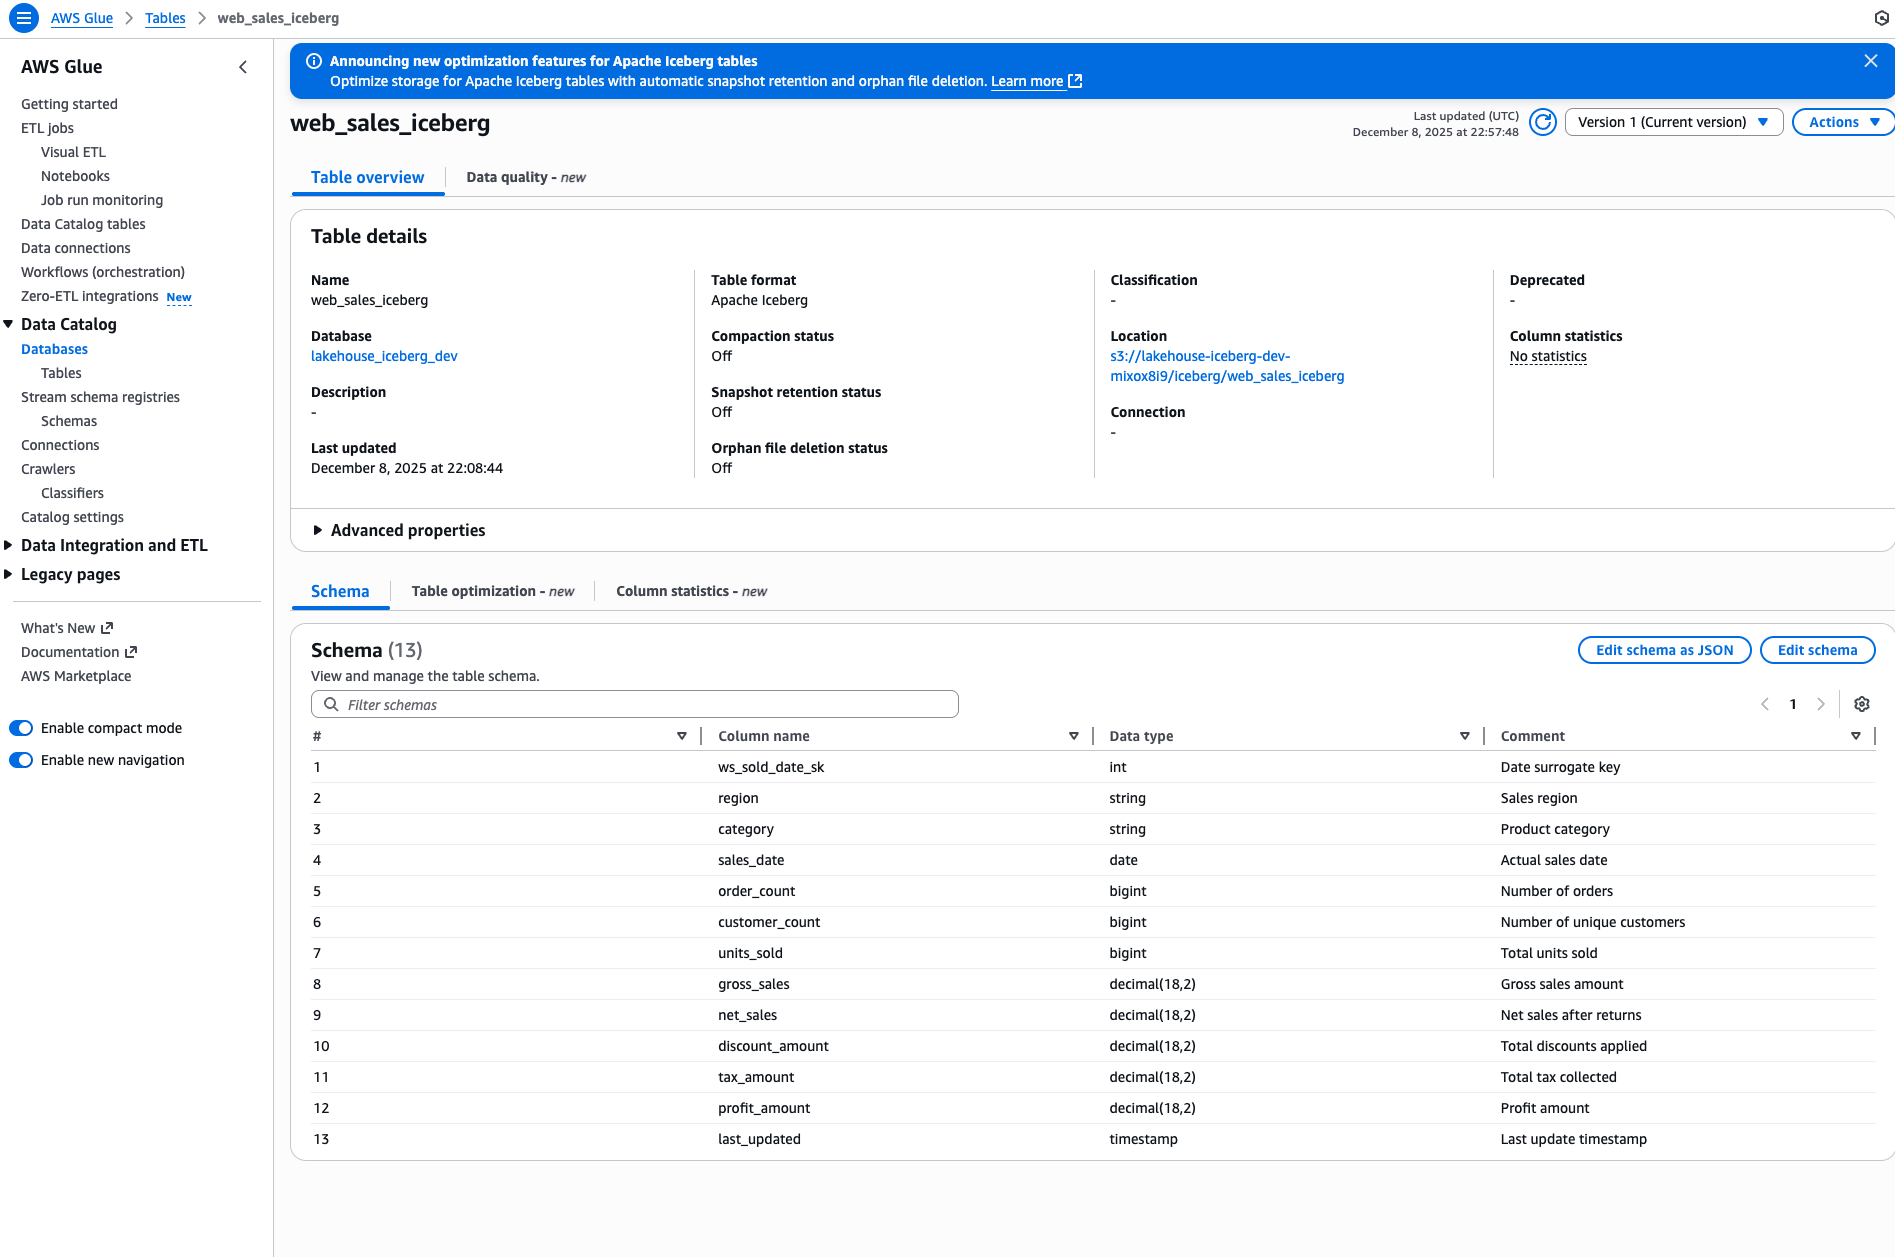
Verify Your Setup
After creating tables, you can verify them in the AWS Glue Console under Data Catalog > Tables:
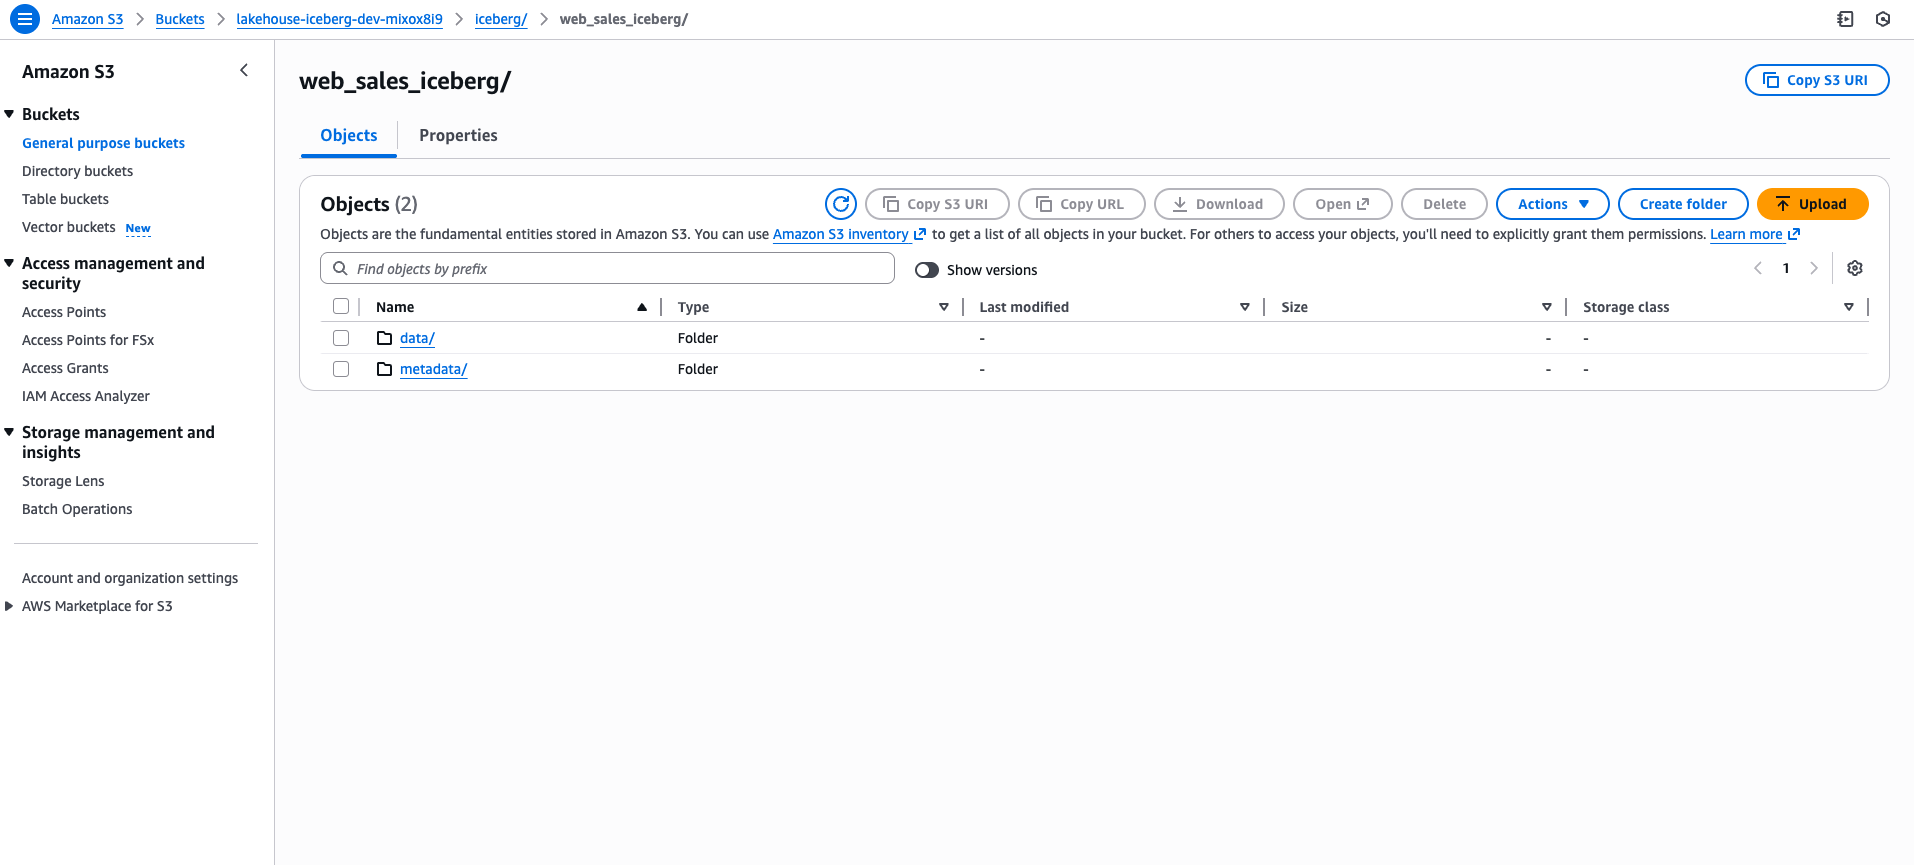
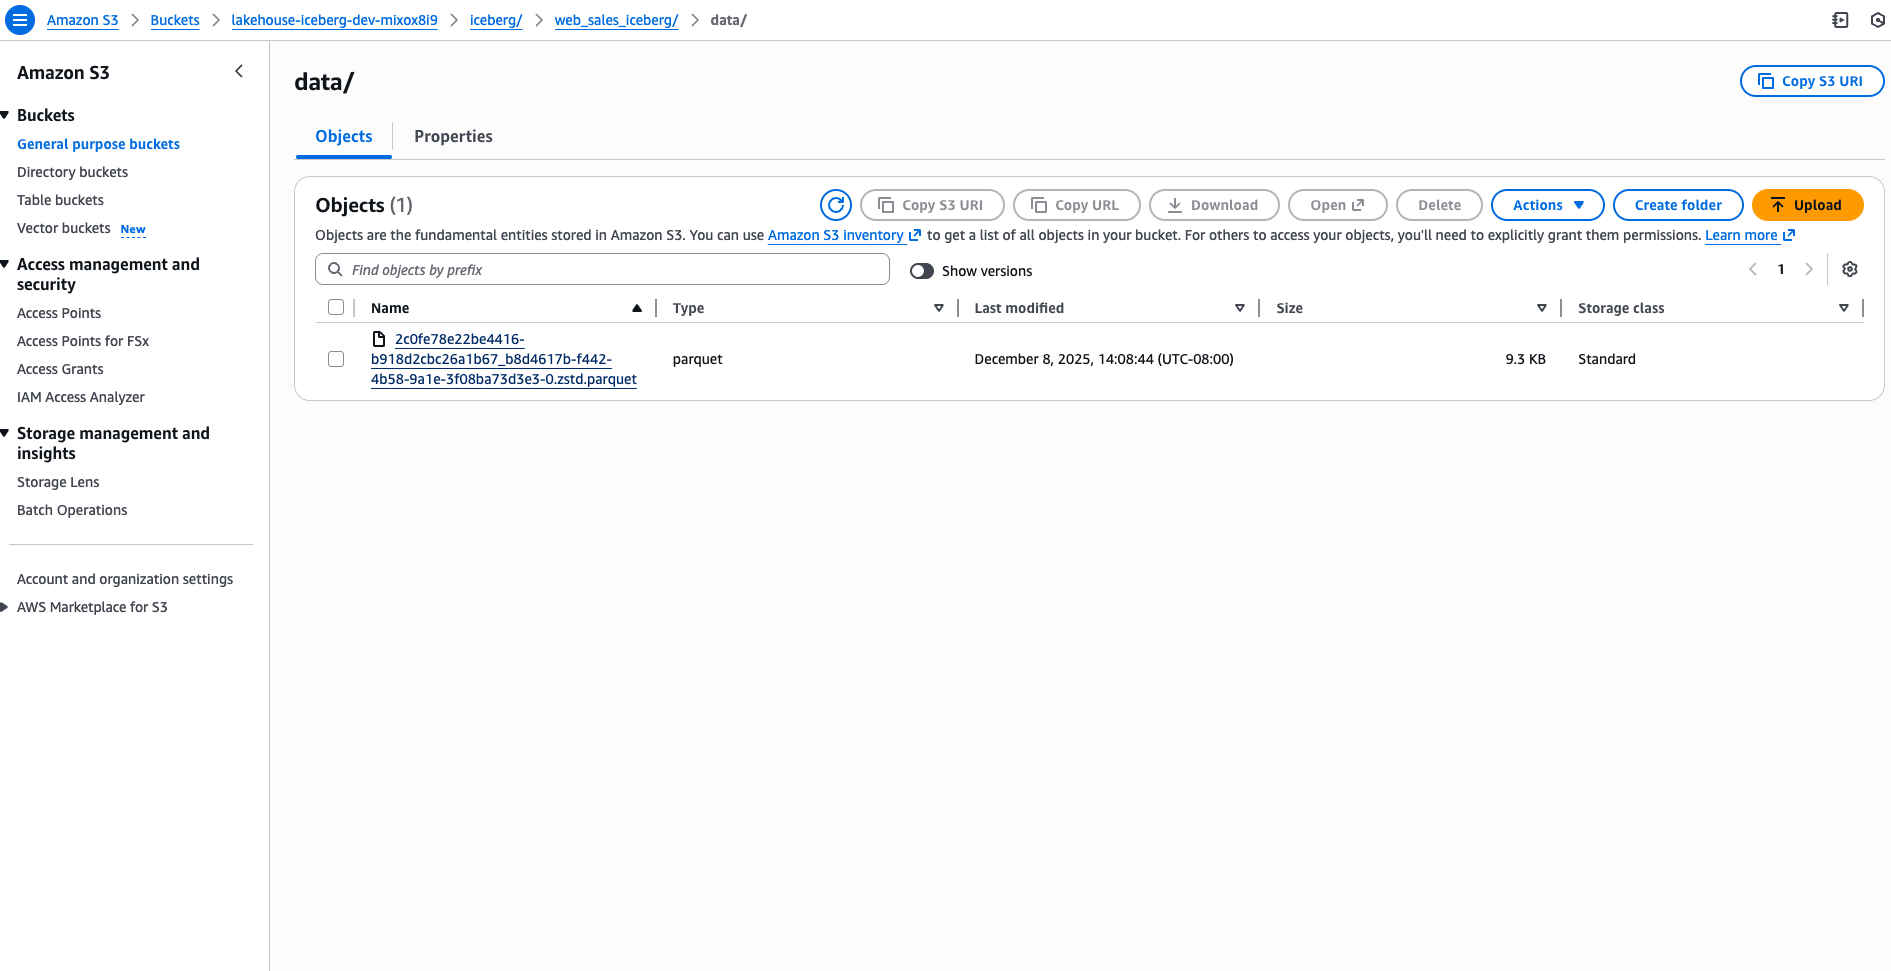
You can also verify the Iceberg data files in S3:
Next Steps
Once your AWS infrastructure is ready, proceed to AWS Glue Connection Guide to connect VeloDB to your Glue catalog using the visual interface.