Access VeloDB Cloud from Your VPC on Azure
Before you begin, read Access VeloDB Cloud from your VPC for the connection direction, ownership model, and network-control scope. This procedure applies to software as a service (SaaS) warehouses and uses Azure Private Link to create a private endpoint in your virtual network (VNet).
Make sure that you can create private endpoints, select a subnet, configure private Domain Name System (DNS), and manage the Azure subscription and resource group that contain the client applications.
-
Log in to the VeloDB Cloud console. In the upper-left corner, select the warehouse that you want to use, then click Connect in the left navigation pane. Select Private Endpoint > Access VeloDB from Your VPC, and then click Set up Connection.
-
Click Set up one or more endpoints to open Azure Private Link and create a private endpoint.
-
On the Basics tab, verify that the Azure region matches the warehouse region, complete the form, and click Next: Resource.
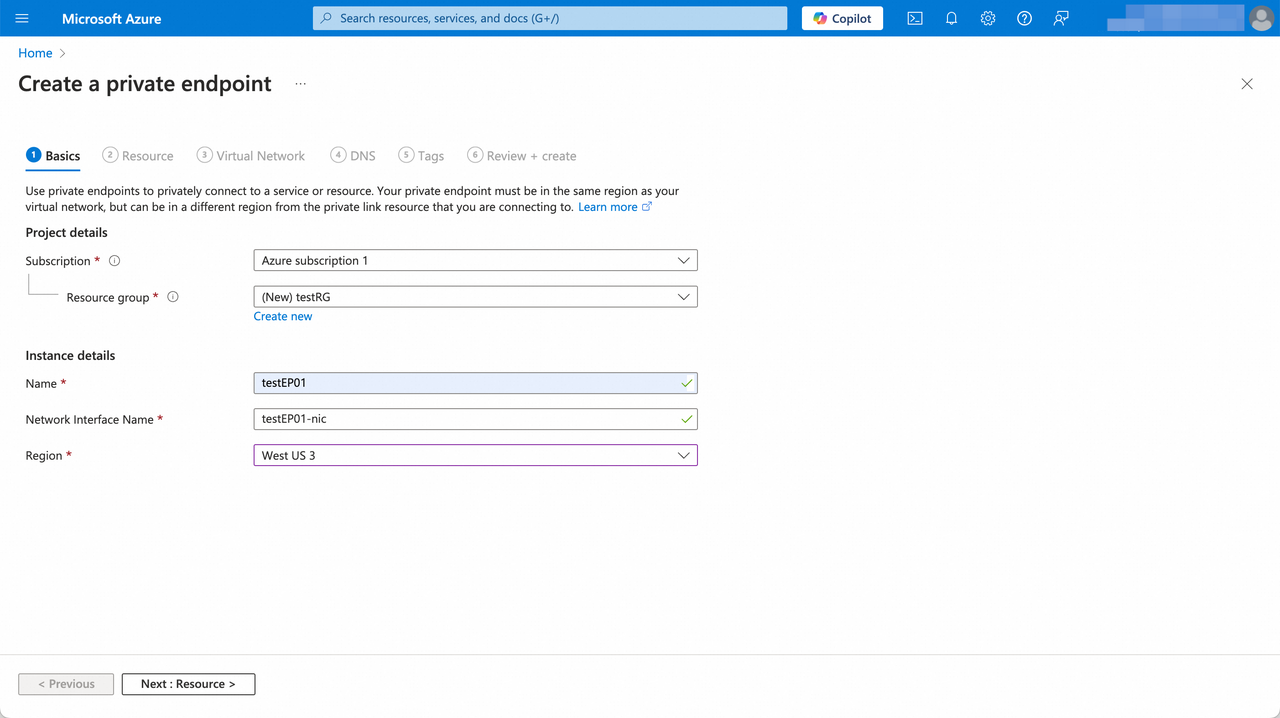
Parameter Category Description Subscription Project details Azure subscription to use for the private endpoint. Resource group Project details Resource group for the private endpoint. Create one if none is suitable. Name Instance details Private endpoint instance name. Network Interface Name Instance details Auto-generated from the instance name. You can edit it. Region Instance details Must match the warehouse region. -
On the Resource tab, choose Connect to an Azure resource by resource ID or alias, paste the Service Alias from the VeloDB Cloud endpoint service information panel, and click Next: Virtual Network.
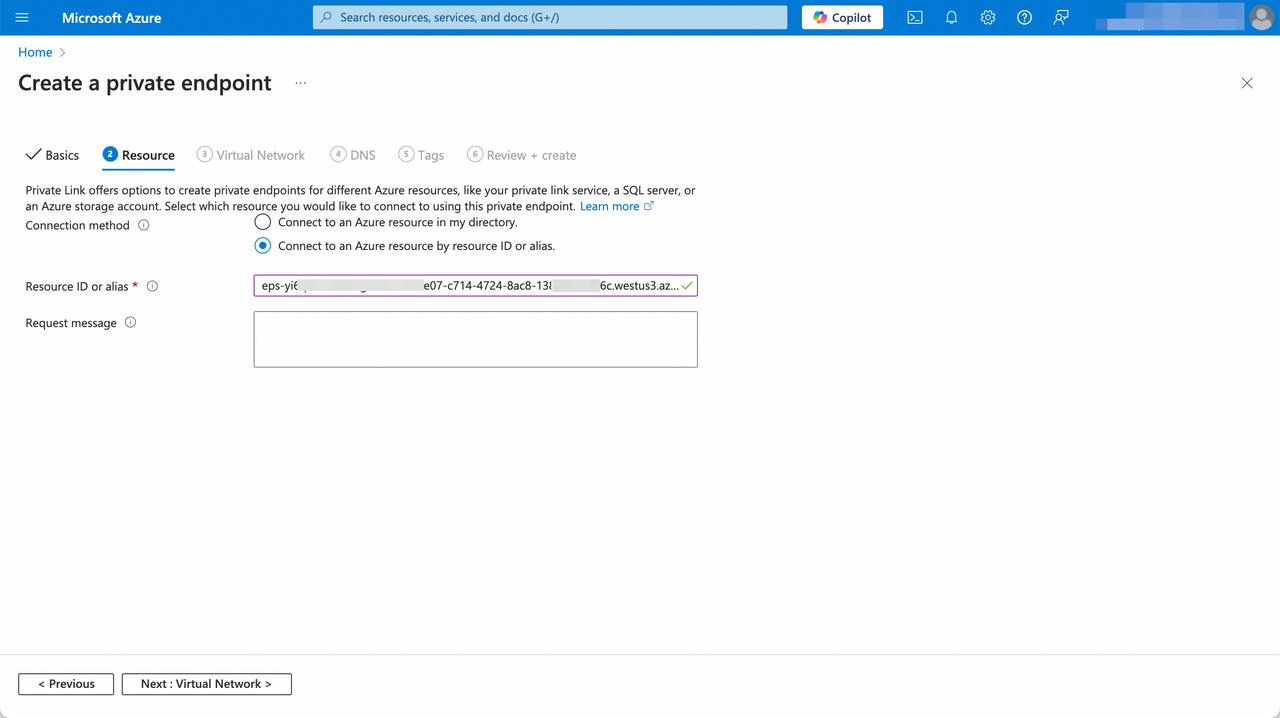
-
On the Virtual Network tab, select the VNet and subnet that your client applications can reach, and click Next: DNS.
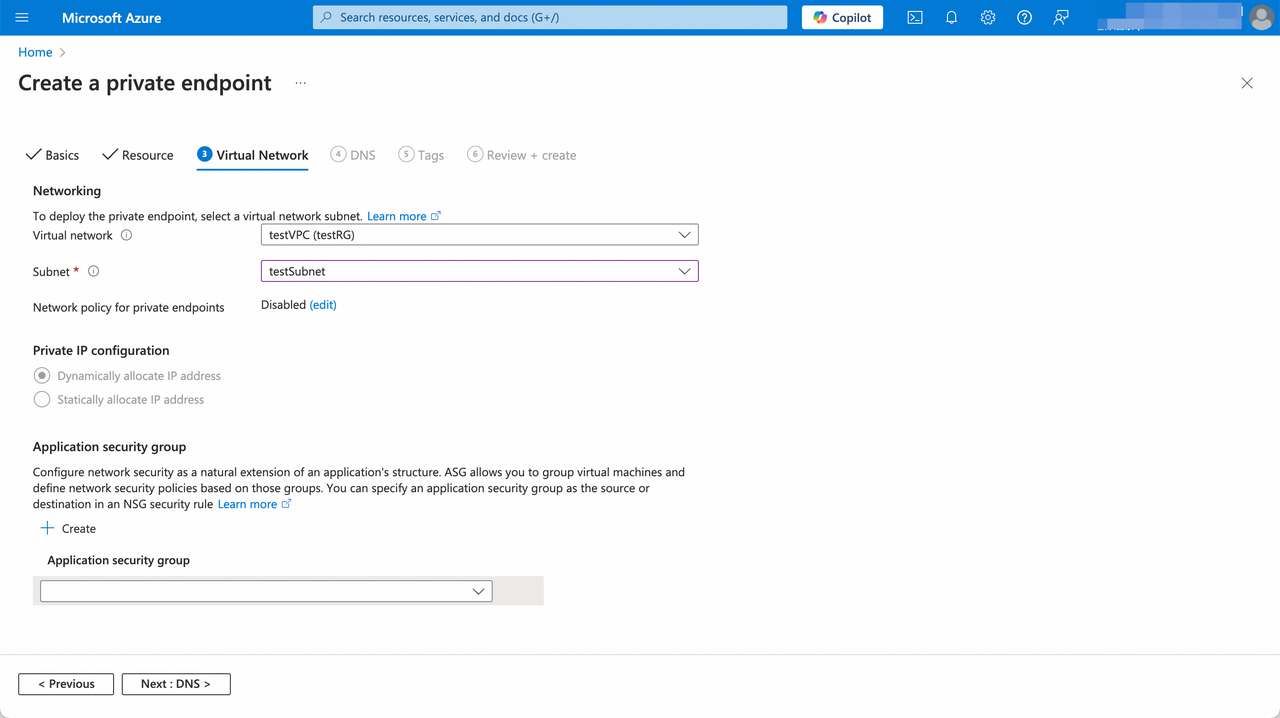
-
On the DNS tab, configure private DNS for the endpoint. A DNS record is required for private connectivity. On the Tags tab, add tags as needed, review the configuration, and click Create.
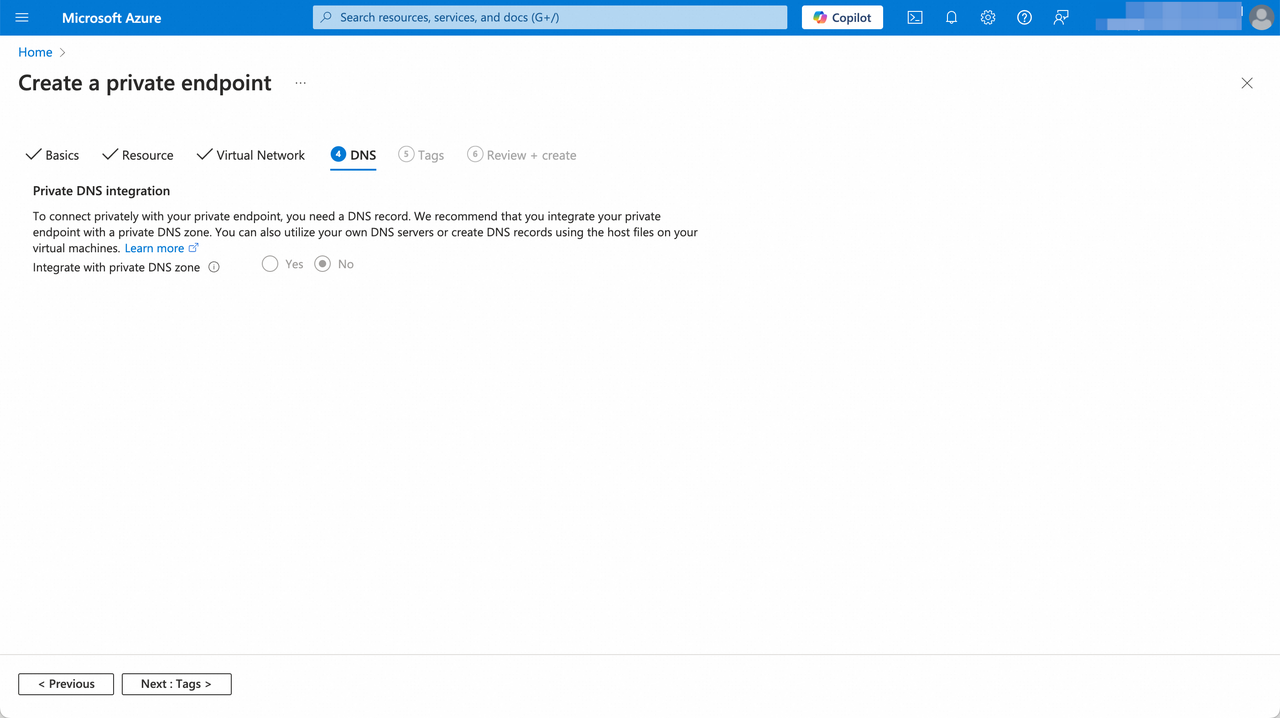
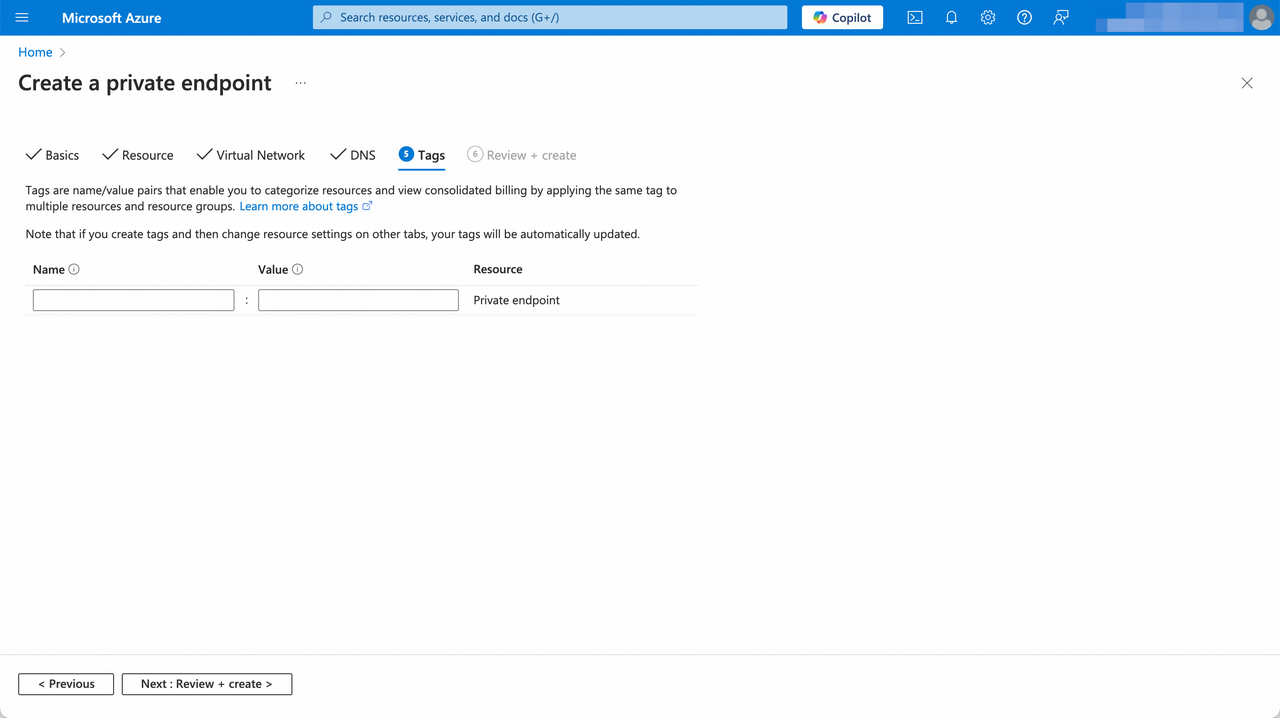
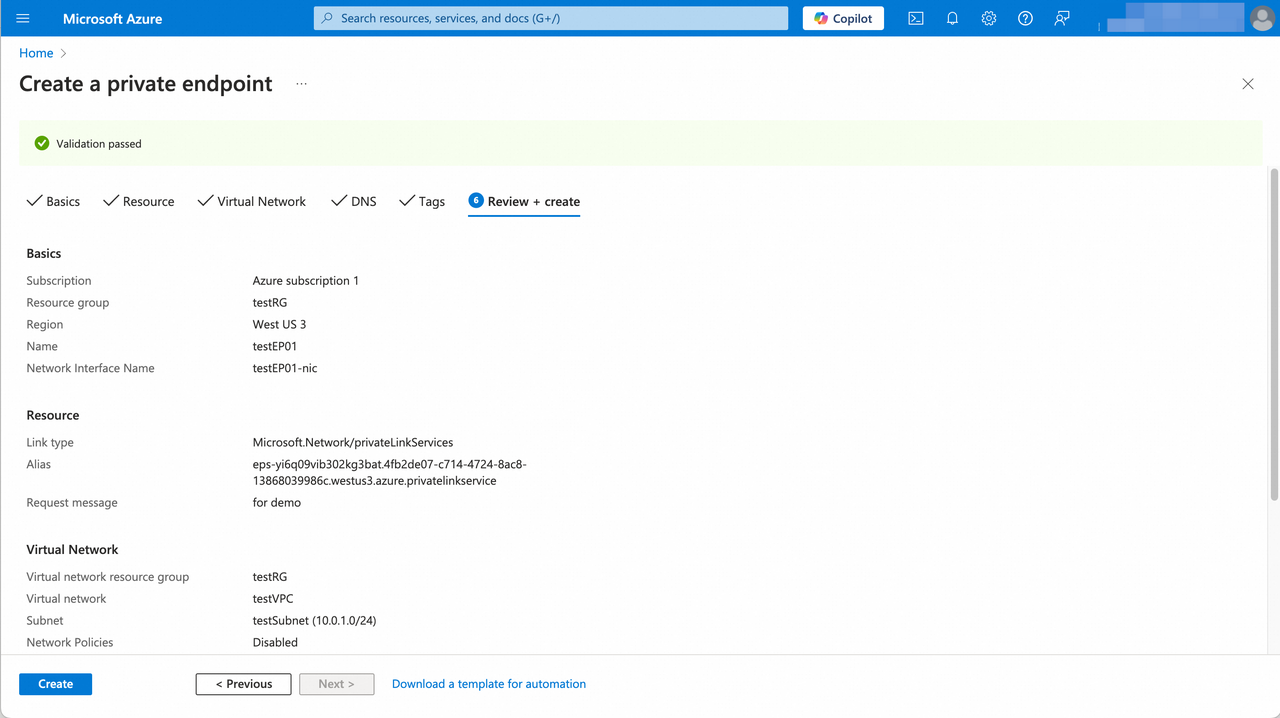
-
Wait for the Azure private endpoint status to change from Created to OK. The Private Link connection is ready only after the endpoint reaches OK.
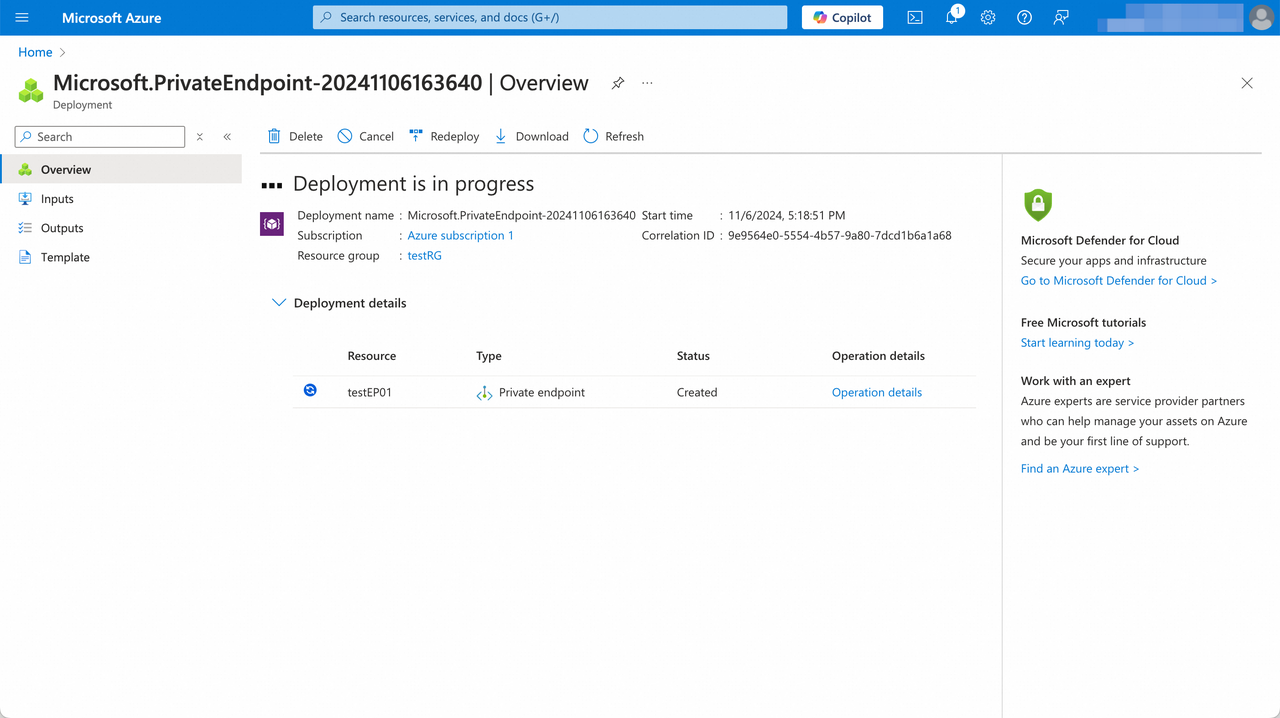
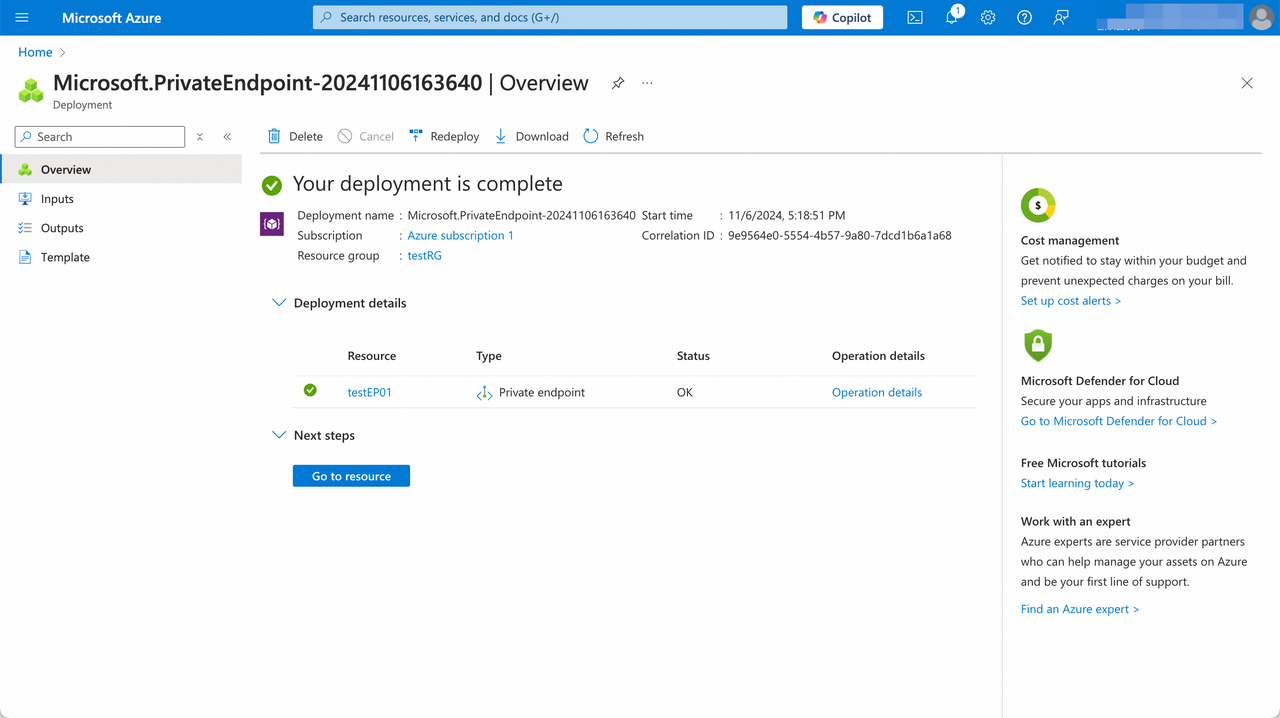
-
In Azure, open the private endpoint overview page and copy its name. Open the associated network interface and copy the private IP address.
-
Return to VeloDB Cloud. If the Set up Connection dialog is closed, open Connect > Private Endpoint > Access VeloDB from Your VPC, and then click Set up Connection. Under Endpoint Information, enter the Endpoint Name and Endpoint Private IP. Optionally enter a Description, and then click Save.
-
Refresh the page, then open Connect > Private Endpoint > Access VeloDB from Your VPC. Locate the row by its Endpoint Name, and verify the Endpoint Private IP.
-
In the endpoint row, select the connection option for your client, and then copy the connection details from the dialog.
- Configure your client with the copied connection details.
After the endpoint is ready, use Connection Methods to connect an application.