MySQL Protocolによる接続
Apache Dorisは、MySQLネットワーク接続プロトコルを採用しています。MySQLエコシステム内のコマンドラインツール、JDBC/ODBCドライバー、および各種ビジュアライゼーションツールと互換性があります。さらに、Apache Dorisには組み込みの使いやすいWeb UIが付属しています。このガイドでは、MySQL クライアント、MySQL JDBC Connector、DBeaver、および組み込みのDoris Web UIを使用してDorisに接続する方法について説明します。
MySQL クライアント
LinuxのMySQL ClientをMySQL公式サイトからダウンロードします。現在、DorisはMySQL 5.7以降のクライアントと主に互換性があります。
ダウンロードしたMySQL clientを展開します。bin/ディレクトリで、mysqlコマンドラインツールを見つけます。Dorisに接続するには、以下のコマンドを実行します:
# FE_IP represents the listening address of the FE node, while FE_QUERY_PORT represents the port of the MySQL protocol service of the FE. This corresponds to the query_port parameter in fe.conf and it defaults to 9030.
mysql -h FE_IP -P FE_QUERY_PORT -u USER_NAME
ログイン後、以下のメッセージが表示されます。
Welcome to the MySQL monitor.  Commands end with ; or \g.
Your MySQL connection id is 236
サーバー version: 5.7.99 Doris version doris-2.0.3-rc06-37d31a5
Copyright (c) 2000, 2018, Oracle and/or its affiliates. All rights reserved.
Oracle is a registered trademark of Oracle Corporation and/or its affiliates. Other names may be trademarks of their respective owners.                                     Type 'help;' or '\h' for help. Type '\c' to clear the current input statement.          mysql>
MySQL JDBC Connector
MySQL公式ウェブサイトから対応するJDBC Connectorをダウンロードしてください。
接続コードの例:
String user = "user_name";
String password = "user_password";
String newUrl = "jdbc:mysql://FE_IP:FE_PORT/demo?useUnicode=true&characterEncoding=utf8&useTimezone=true&serverTimezone=Asia/Shanghai&useSSL=false&allowPublicKeyRetrieval=true";
try {
    Connection myCon = DriverManager.getConnection(newUrl, user, password);
    Statement stmt = myCon.createStatement();
    ResultSet result = stmt.executeQuery("show databases");
    ResultSetMetaData metaData = result.getMetaData();
    int columnCount = metaData.getColumnCount();
    while (result.next()) {
        for (int i = 1; i <= columnCount; i++) {
            System.out.println(result.getObject(i));
        }
    }
} catch (SQLException e) {
    log.error("get JDBC connection exception.", e);
}
セッション変数を接続時に初期設定する必要がある場合は、以下の形式を使用できます:
jdbc:mysql://FE_IP:FE_PORT/demo?sessionVariables=key1=val1,key2=val2
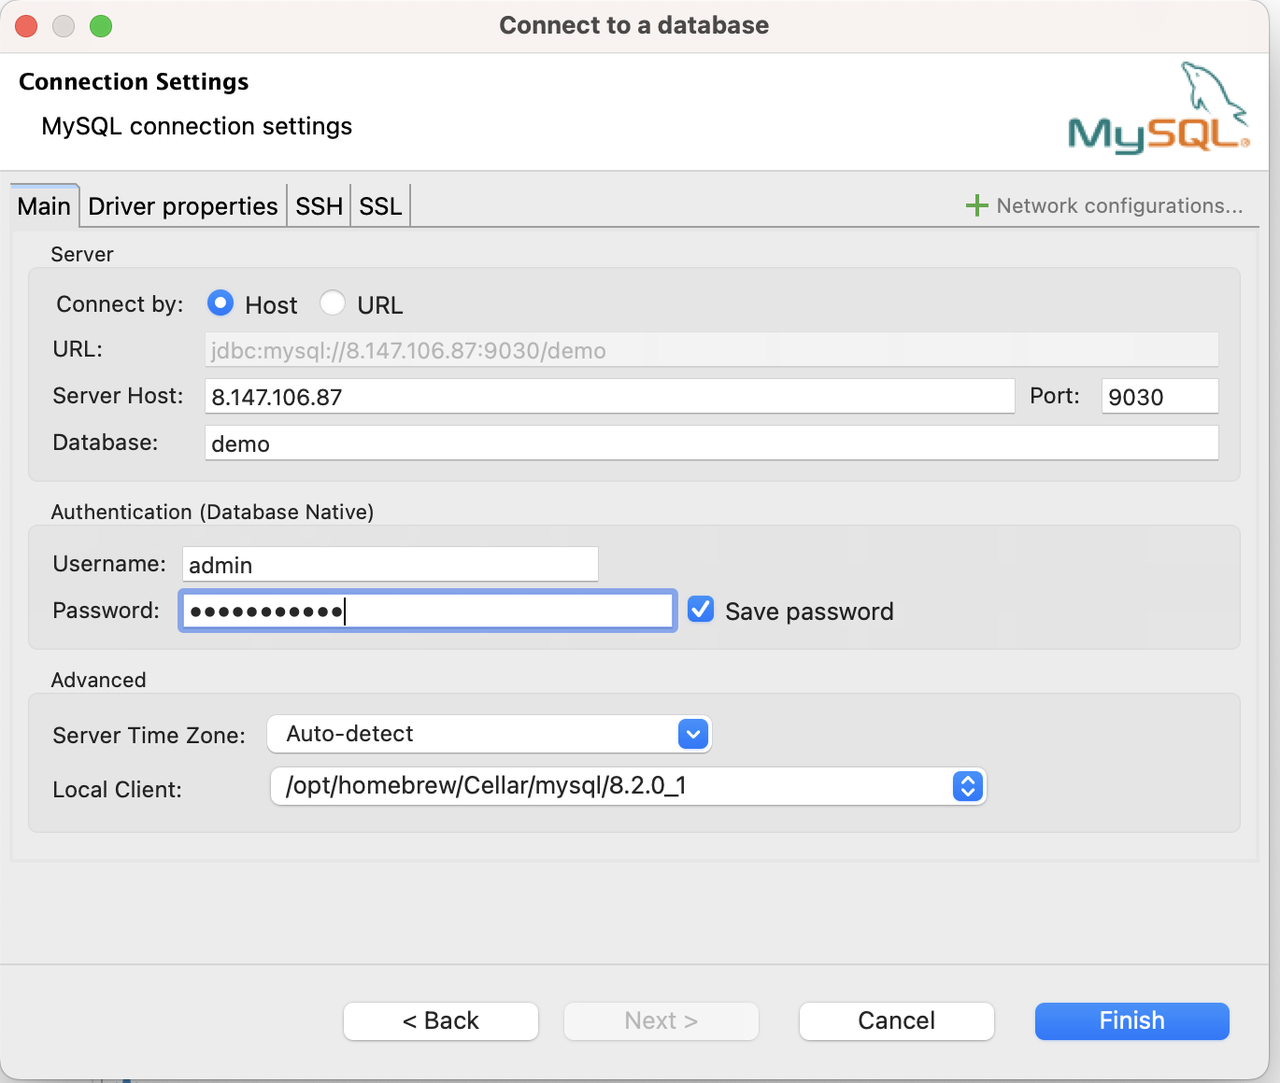
DBeaver
Apache DorisへのMySQL接続を作成します:
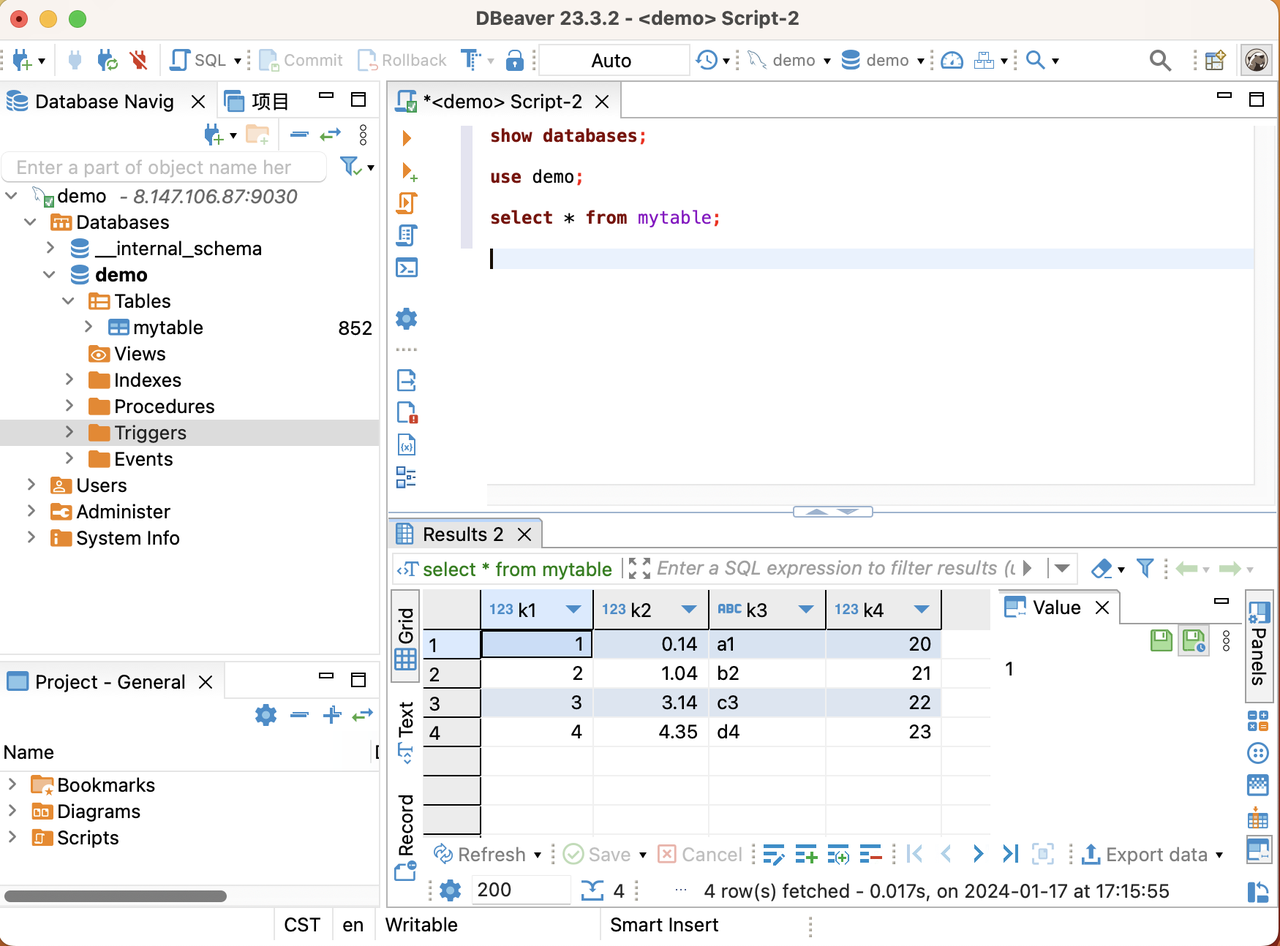
DBeaverでのクエリ:
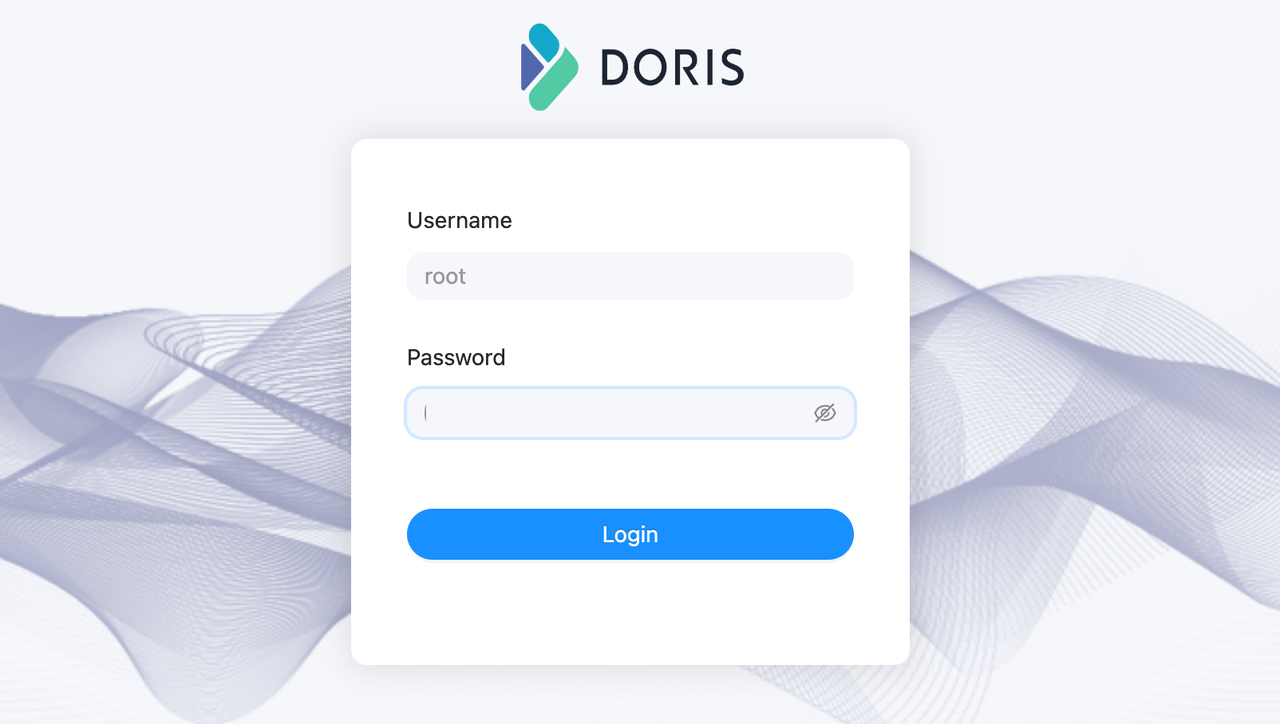
DorisのビルトインWeb UI
Doris FEにはビルトインのWeb UIが搭載されています。これにより、ユーザーはMySQLクライアントをインストールする必要なく、SQLクエリを実行し、その他の関連情報を表示できます。
Web UIにアクセスするには、WebブラウザでURLを入力するだけです:http://fe_ip:fe_port、例えばhttp://172.20.63.118:8030。これによりDorisのビルトインWebコンソールが開きます。
ビルトインWebコンソールは、主にクラスタのrootアカウントでの使用を想定しています。デフォルトでは、インストール後のrootアカウントのパスワードは空です。
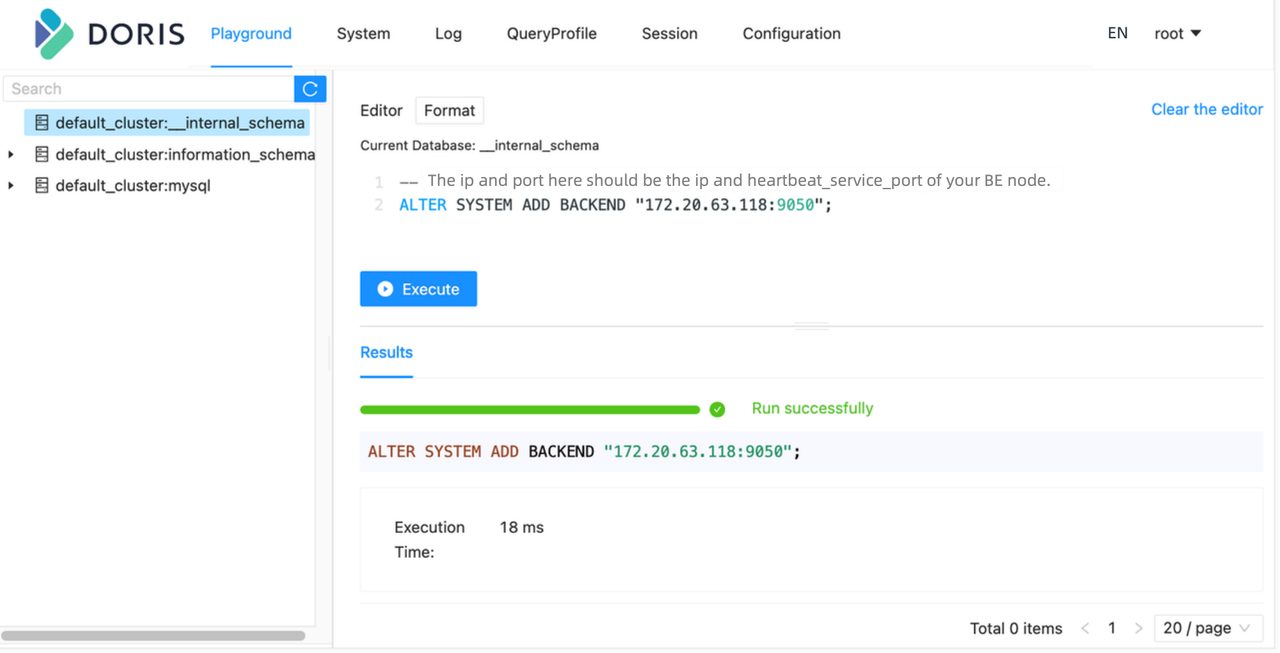
例えば、PlaygroundでBEノードを追加するために以下のコマンドを実行できます。
ALTER SYSTEM ADD BACKEND "be_host_ip:heartbeat_service_port";
Playgroundで特定のデータベース/Tableに関連しないステートメントを正常に実行するには、左側のデータベースパネルからデータベースをランダムに選択する必要があります。この制限は後で削除される予定です。
現在の組み込みWebコンソールはSET型のSQLステートメントを実行できません。そのため、WebコンソールはSET PASSWORD FOR 'user' = PASSWORD('user_password')のようなステートメントをサポートしていません。