Create a BYOC warehouse Using Wizard Mode
This guide walks you through the process of creating a VeloDB warehouse using Wizard Mode.
Launch the Warehouse Creation Wizard
- Log in to the VeloDB Cloud Console.
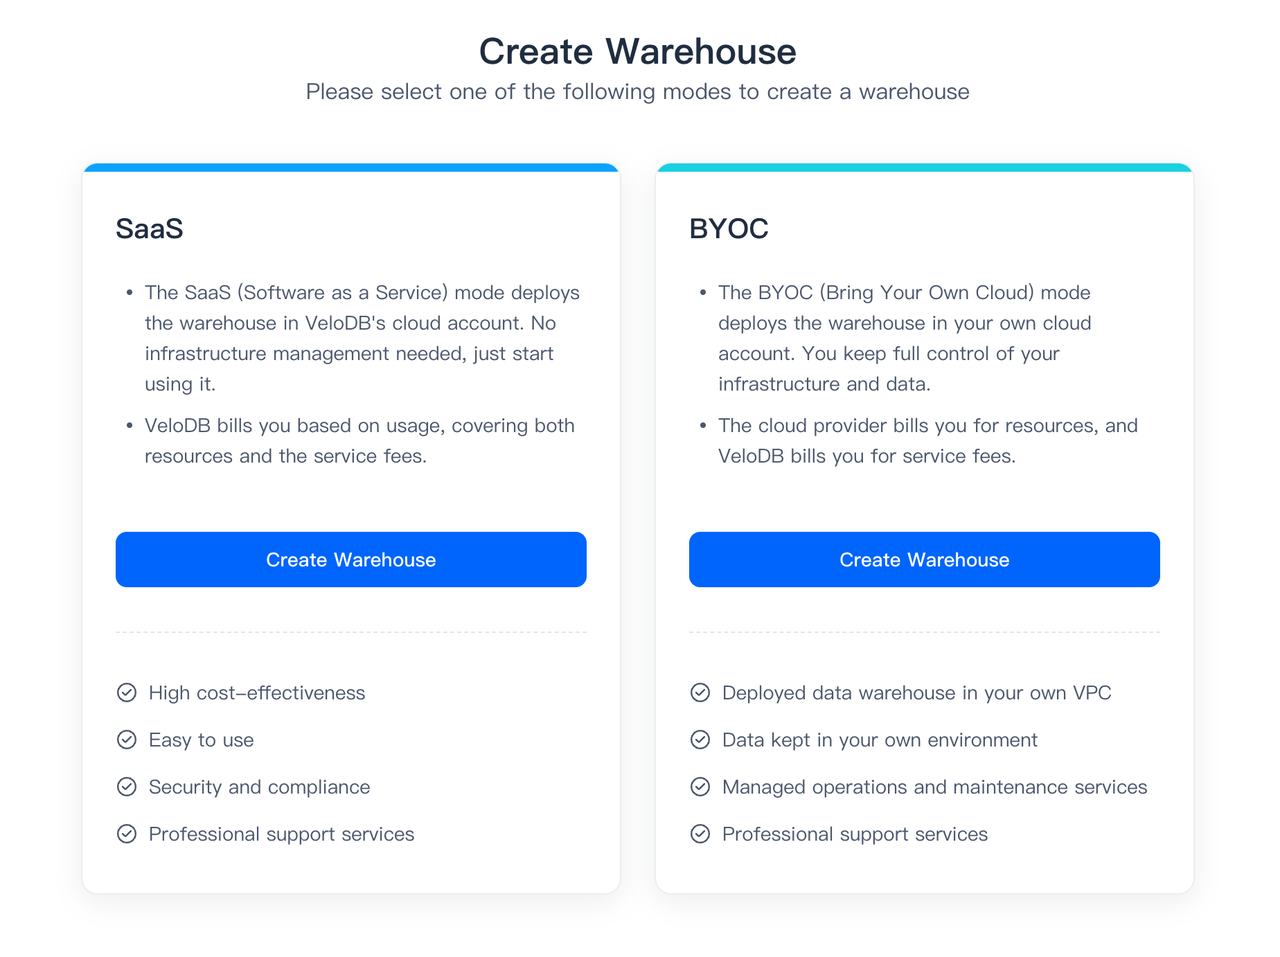
- After logging in to the console, click "Create New Warehouse" in the upper-left corner, select BYOC, and choose the Wizard Mode to enter the setup guide.
The warehouse deployment via the wizard is divided into four steps, with detailed operational instructions as follows.
Step 1: Configure Warehouse
-
Set up the basic configuration
- Enter a warehouse name. Supported characters include: Chinese characters, letters (case-insensitive), numbers, underscores (_), and hyphens (-).
- Cloud Platform: select AWS
- Select the AWS region where the warehouse will be deployed.
-
Initial Cluster Resource Configuration
- Compute (vCPU)
- Default: 8 vCPU
- Adjustable Range: 8–1024 vCPU per cluster
- Higher Capacity Requests: If your workload requires more than 1024 vCPU, please contact support for quota approval.
- Cache
- Dynamic Sizing: Cache capacity limits are automatically scaled based on the selected compute size.
- Upper/Lower Bounds: Minimum and maximum cache thresholds vary proportionally with vCPU allocation.
- Compute (vCPU)
-
Initial User Configuration You can set a password for the default admin user. The password must meet the following requirements:
- Length: 8–20 characters
- Allowed Characters: Uppercase and lowercase letters, numbers, and special characters (e.g.
~!@#$%^&*()_+|<>,.?/:;'[]{}") - Complexity: Must include at least 3 character types (e.g., letters + numbers + symbols).
NOTE The admin user is automatically provisioned, serving as the warehouse administrator with full system privileges. After the cluster is created, you can navigate to the warehouse settings page to reset the admin user's password.
After filling in all required fields, click the Next button to proceed.
Step 2: Set Up Credentials
In this step, you can either Create New Credentials or Reuse Credentials that were created during a previous deployment.
If you choose to Create New Credentials, please follow these steps.
- Setup a new Data Credential
- Enter an S3 bucket name. If you have not yet created an S3 bucket in the current region, follow the instructions provided in the Create a Data Credential to create one.
- Enter an Instance profile ARN. If you have not yet created an Instance profile, follow the instructions provided in the Create a Data Credential to create one.
- Once you've configured the data credential, click continue.
- Setup a new Deployment Credential
- Enter a Cross-Account IAM Role ARN. If you have not yet created a Cross-Account IAM Role, follow the instructions provided in the Create a Deployment Credential to create one.
- Click the Next button to proceed.
Step 3: Configure the Network
In this step, you can either Create New Network or Reuse Network Configuration that was created during a previous deployment.
NOTE VeloDB allows you to reuse a network configuration among multiple warehouses, meaning that multiple warehouses can share the same VPC, subnet, and security group.
If you choose to Create New Network, please follow these steps.
- Enter the Subnet ID that you use to deploy the warehouse. If you do not have a qualified VPC in the selected AWS region, please create one by following the instructions provided in Create a VPC and related resources.
- Follow the instructions provided in Create a Security Group for EC2 to create a security group, copy the ID of the security group and paste it to the Security group ID field.
If you want to enable End-to-End Private Link, you can click the Advanced Network Settings and paste a VPC endpoint ID for connection to the VPC Endpoint ID field. To create a private endpoint, see Configure Private Connectivity to VeloDB.
Step 4: Deploy in your cloud
After completing the previous three steps, VeloDB will automatically provision cloud resources and deploy the warehouse in your VPC. This process typically takes approximately 5 minutes. Your patience during this time is appreciated.