How to create BYOC Warehouse on GCP
Preparations
Since resources in BYOC mode are deployed in your cloud account, you need to do some preparatory work before using to ensure smooth resource configuration and management:
- Add users to the organization and authorize them
- Prepare a VPC and subnet
- Learn about Resource Orchestration
Create a BYOC Warehouse on GCP
Create warehouse configuration
On the warehouse creation guide page or the warehouse list in the upper-left corner, click Create New Warehouse to enter the warehouse configuration page and fill in the form to create it.
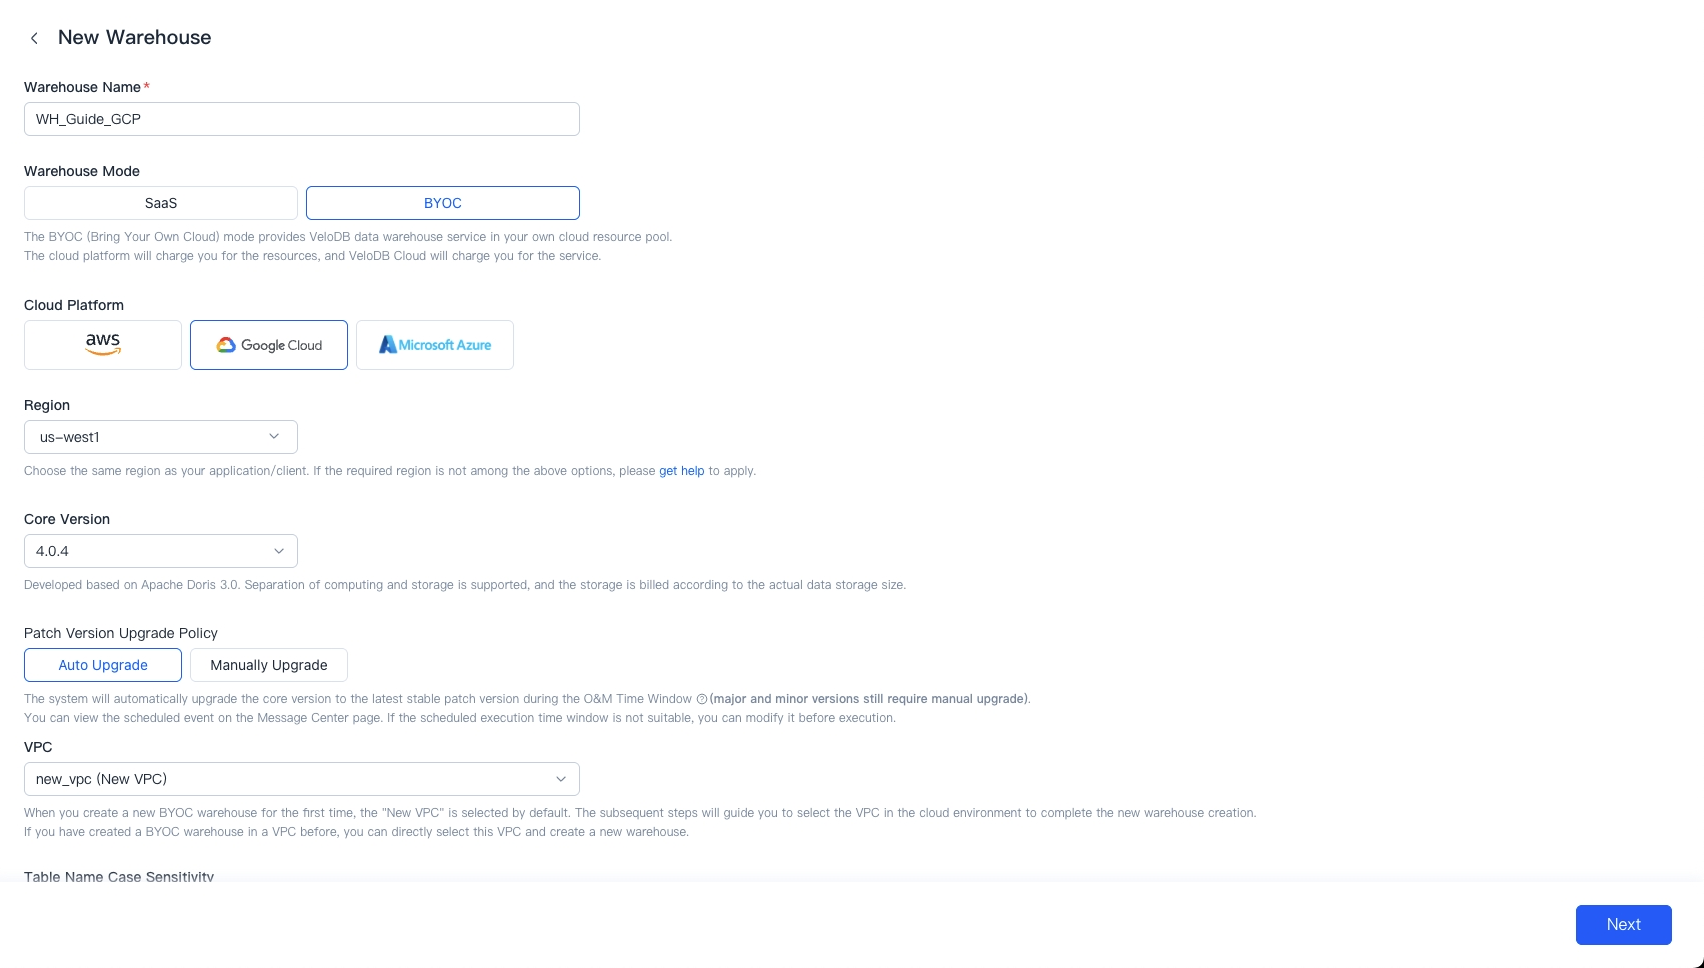
Fill in the following information to start creating warehouse.
| Parameter | Description |
|---|---|
| Warehouse Name | Required. Unique within the organization, no more than 32 characters in length, supports English letters, Chinese, numbers, -, _, and the combination of them. |
| Warehouse Mode | Select BYOC |
| Cloud Platform | Select GCP |
| Region | Select the region where you want to deploy your data warehouse. Because the remote communication network architecture is complex and the delay is large, it is recommended to choose the same region as your application system/client. Currently, VeloDB Cloud already supports multiple regions of the cloud platform, and will continue to support more regions based on customer needs. |
| Core Version | VeloDB Core 2.0 and the later versions support the separation of storage and computing. Storage is billed based on actual usage, and there is no need to pre-configure storage space. |
| VPC | When you create a new BYOC warehouse for the first time, the "New VPC" is selected by default. The subsequent steps will guide you to select the VPC in the cloud environment to complete the new warehouse creation. If you have created a BYOC warehouse in a VPC before, you can directly select this VPC and create a new warehouse. |
This table lists the GCP Regions and Availability Zones where VeloDB Cloud BYOC Warehouse can be deployed
| Cloud Platform | Region Name | Region ID | Availability Zone ID |
|---|---|---|---|
| GCP | US West 1 | us-west1 | all |
| GCP | US East 4 | us-east4 | all |
Click the "Next" button to proceed to the next step.
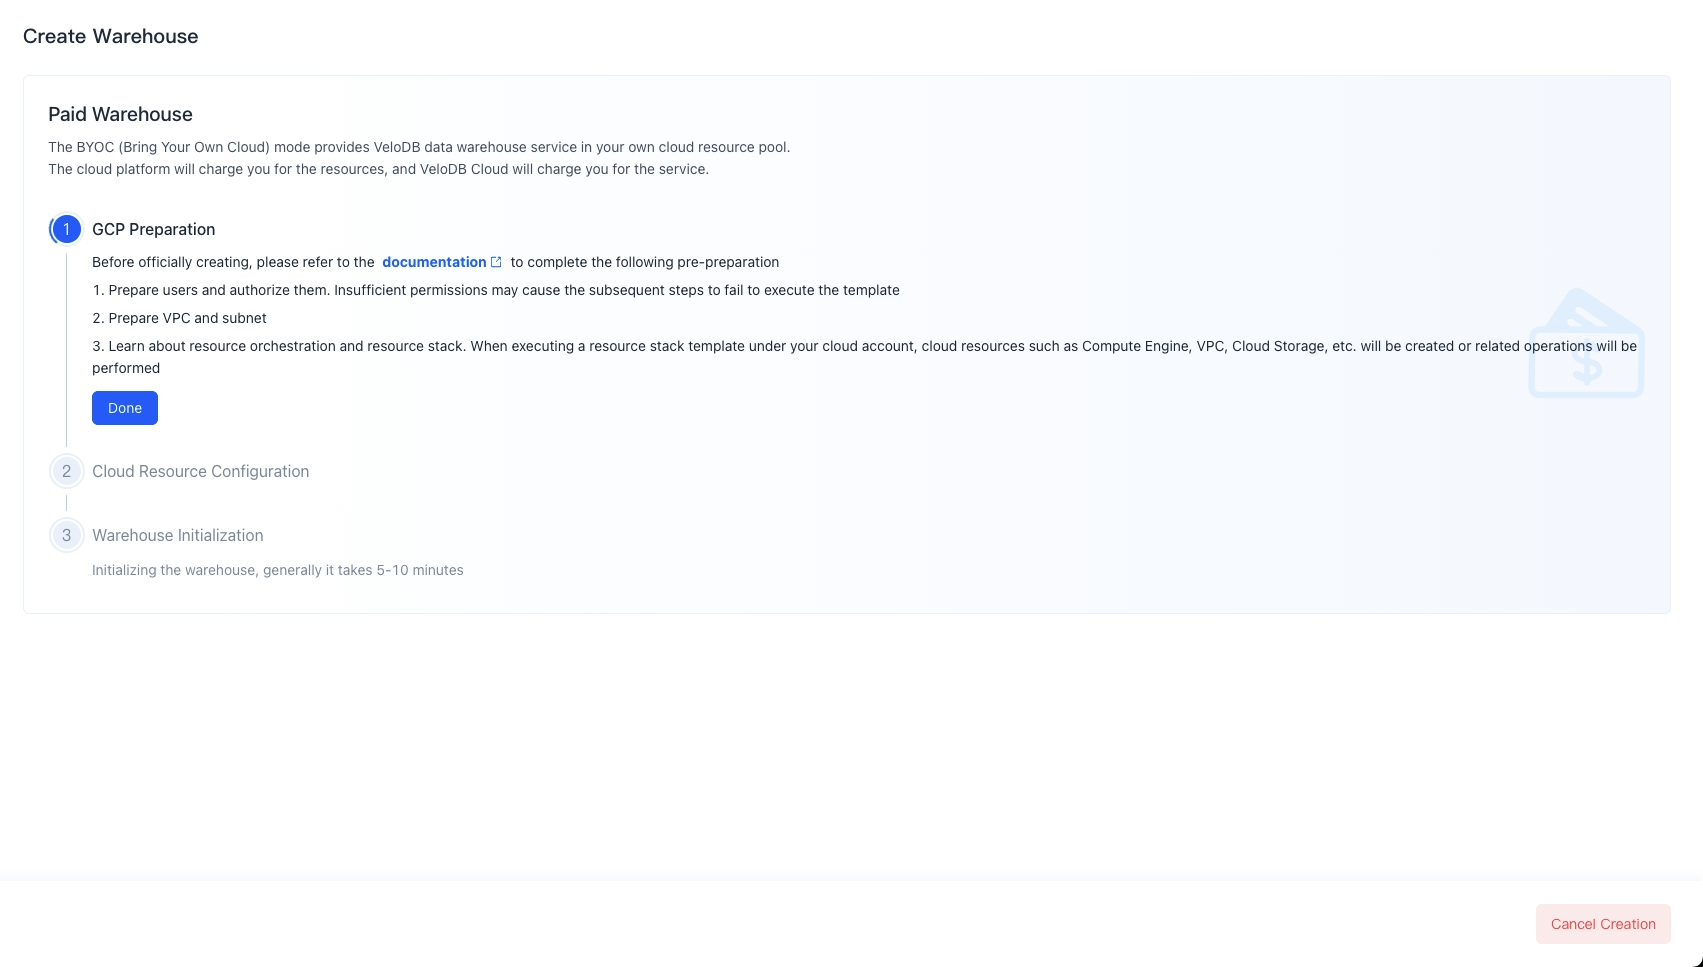
GCP preparation
Before officially creating, please refer to the document to complete the following preparation:
- Add users to the organization and authorize them
- Prepare a VPC and subnet
- Learn about Resource Orchestration
Click Done to proceed to the next step.
Cloud resource configuration
Copy the command and Click "Open CloudShell".
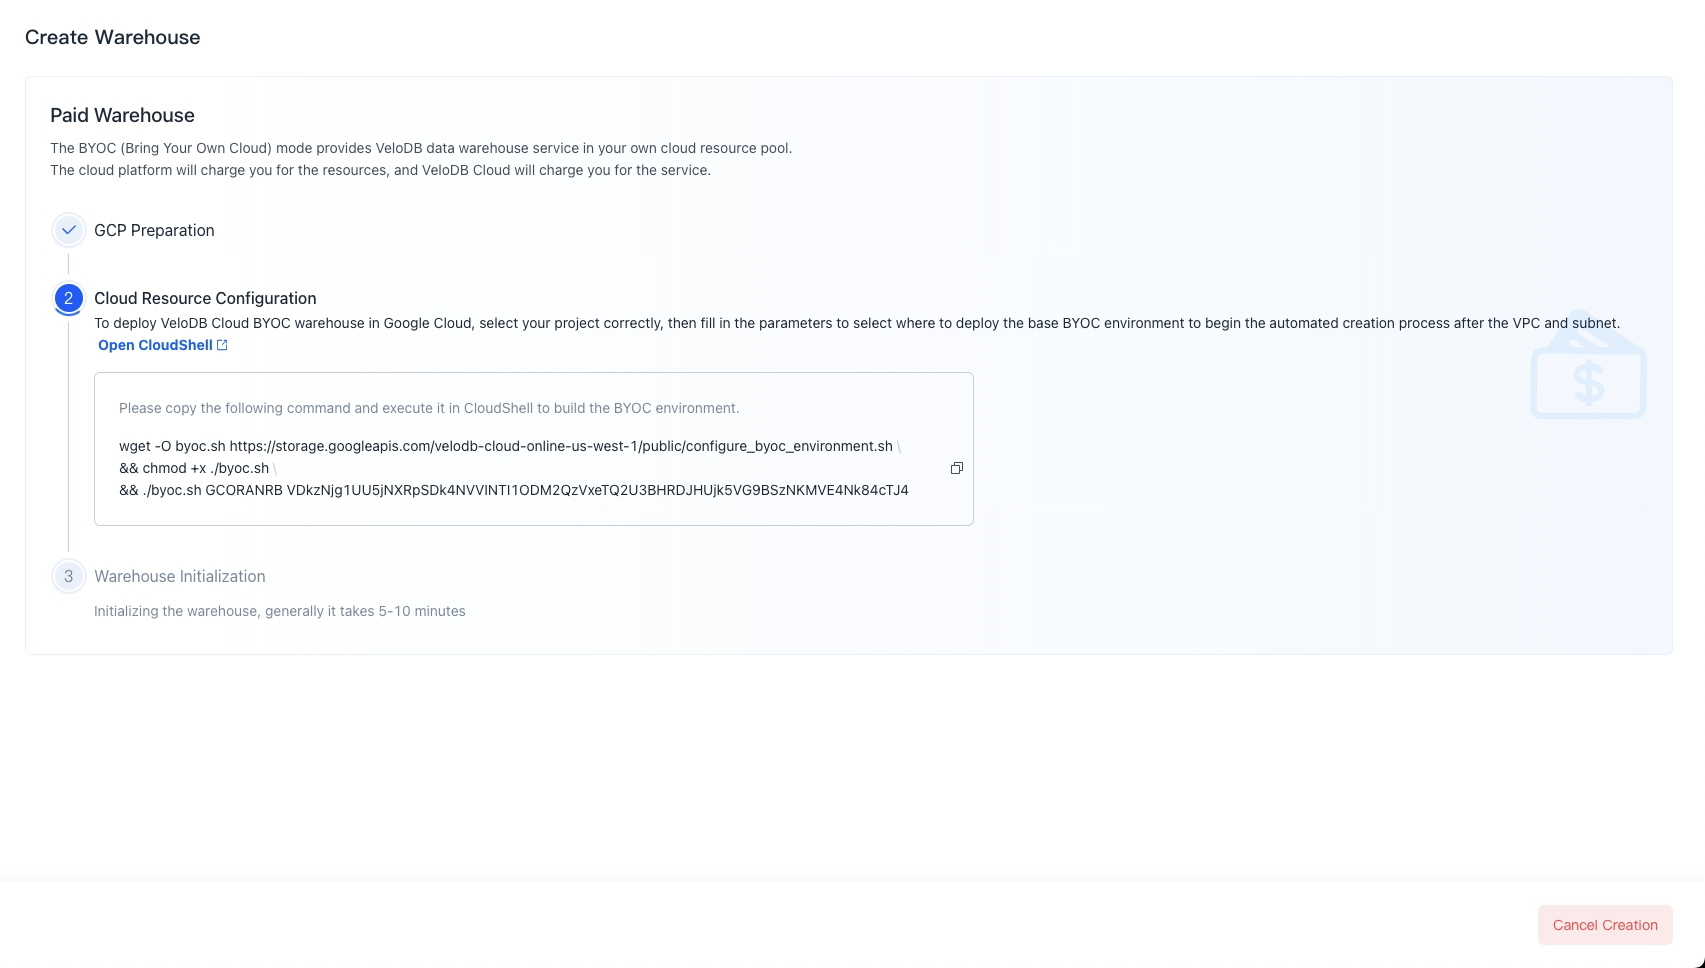
To deploy VeloDB Cloud BYOC warehouse in Google Cloud, select your project correctly, then paste the command and execute.
Fill in the following information to execute shell.
| Parameters | Description |
|---|---|
| VPC name | The VPC name created in the previous step |
| Subnet name | The Subnet name created in the previous step |
| Zone ID | The availability zone where you want to deploy your warehouse(optional) |

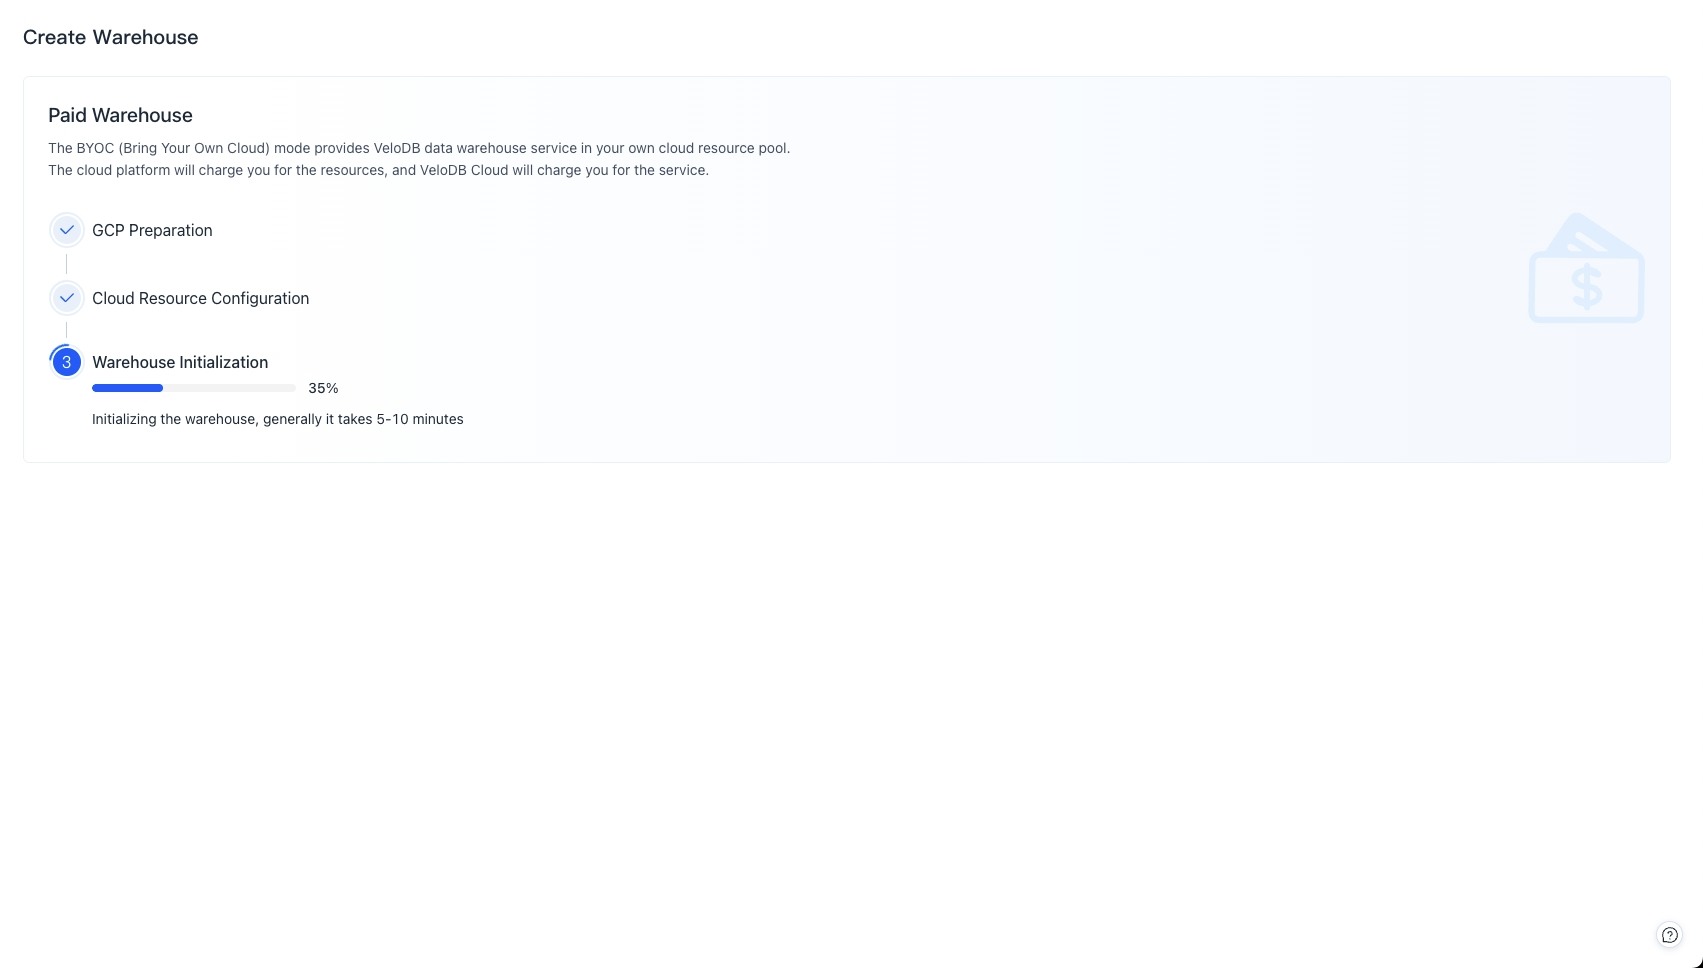
Wait for the script to complete, then return to the velodb page, and wait for the "Warehouse Initialization" step to complete.

Once Warehouse Initialization is complete, VeloDB Cloud will establish a connection with the BYOC warehouse. Subsequently, you can enter the warehouse and create clusters.
Warehouse initialization
The system will initialize the warehouse, which takes about 5-10 minutes. If the warehouse initialization takes more than 30 minutes, or other situations that cannot be continued, please Get Help.
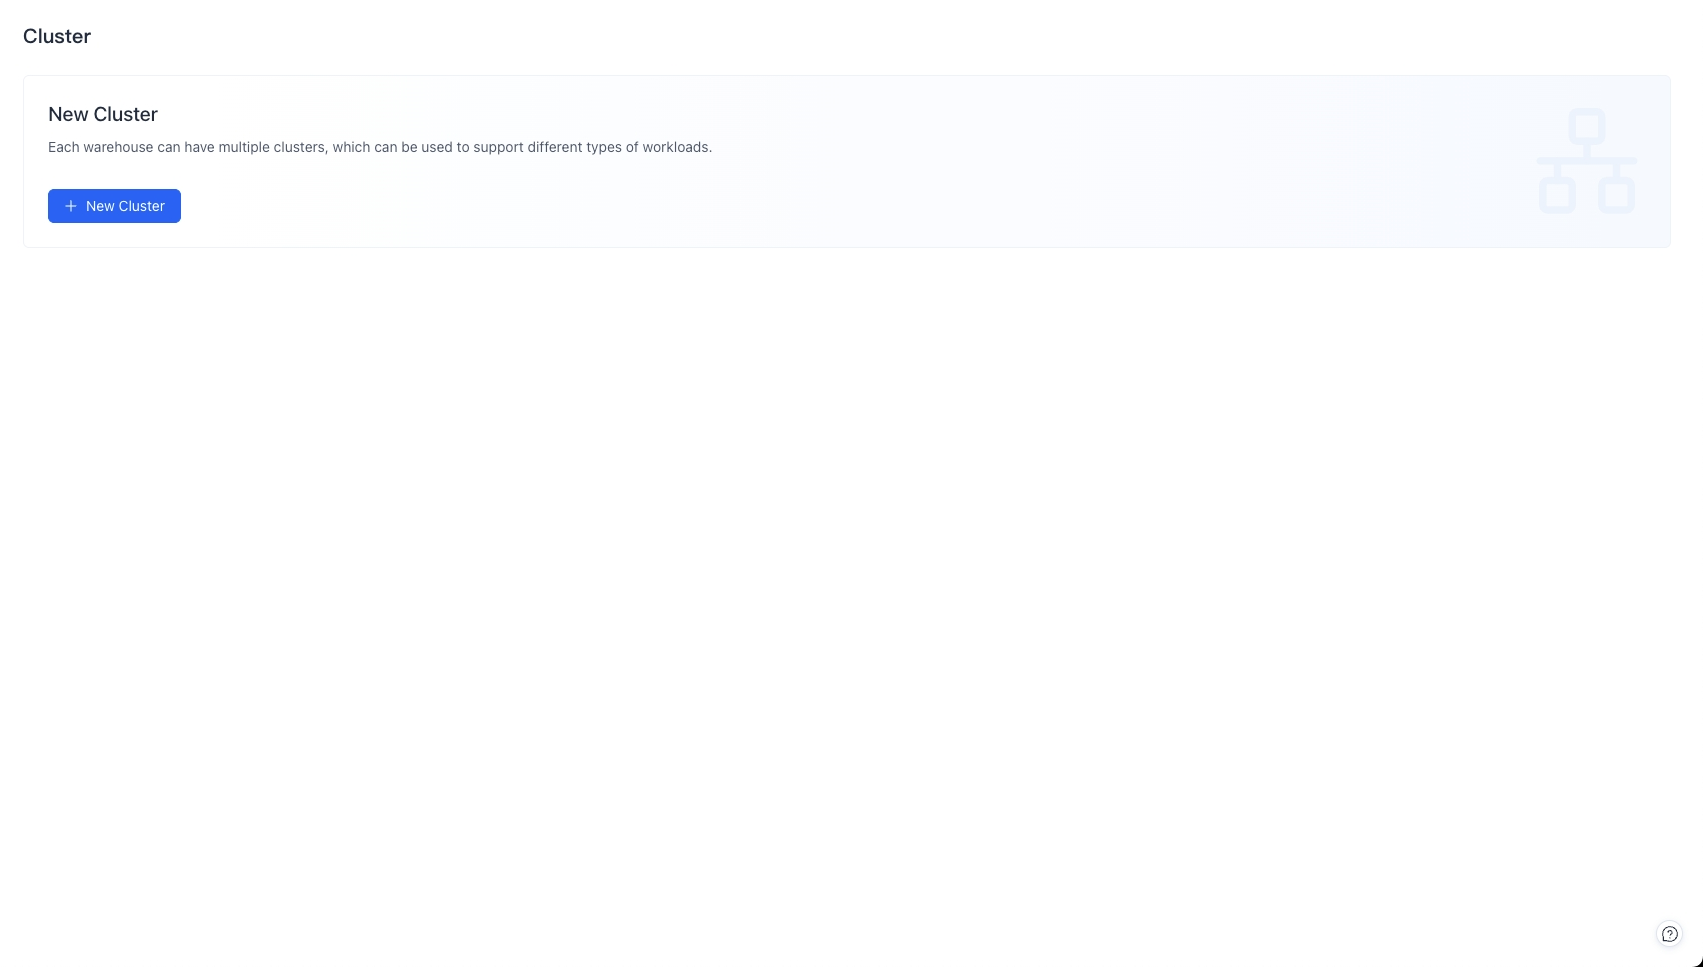
Create a new cluster
On the new cluster page or cluster overview page, click Create a new cluster to enter the cluster configuration page. For detailed operations, please refer to Create a new cluster.
Warehouse Usage
For warehouse settings and if you need to delete a warehouse, please refer to the document Warehouse Settings.